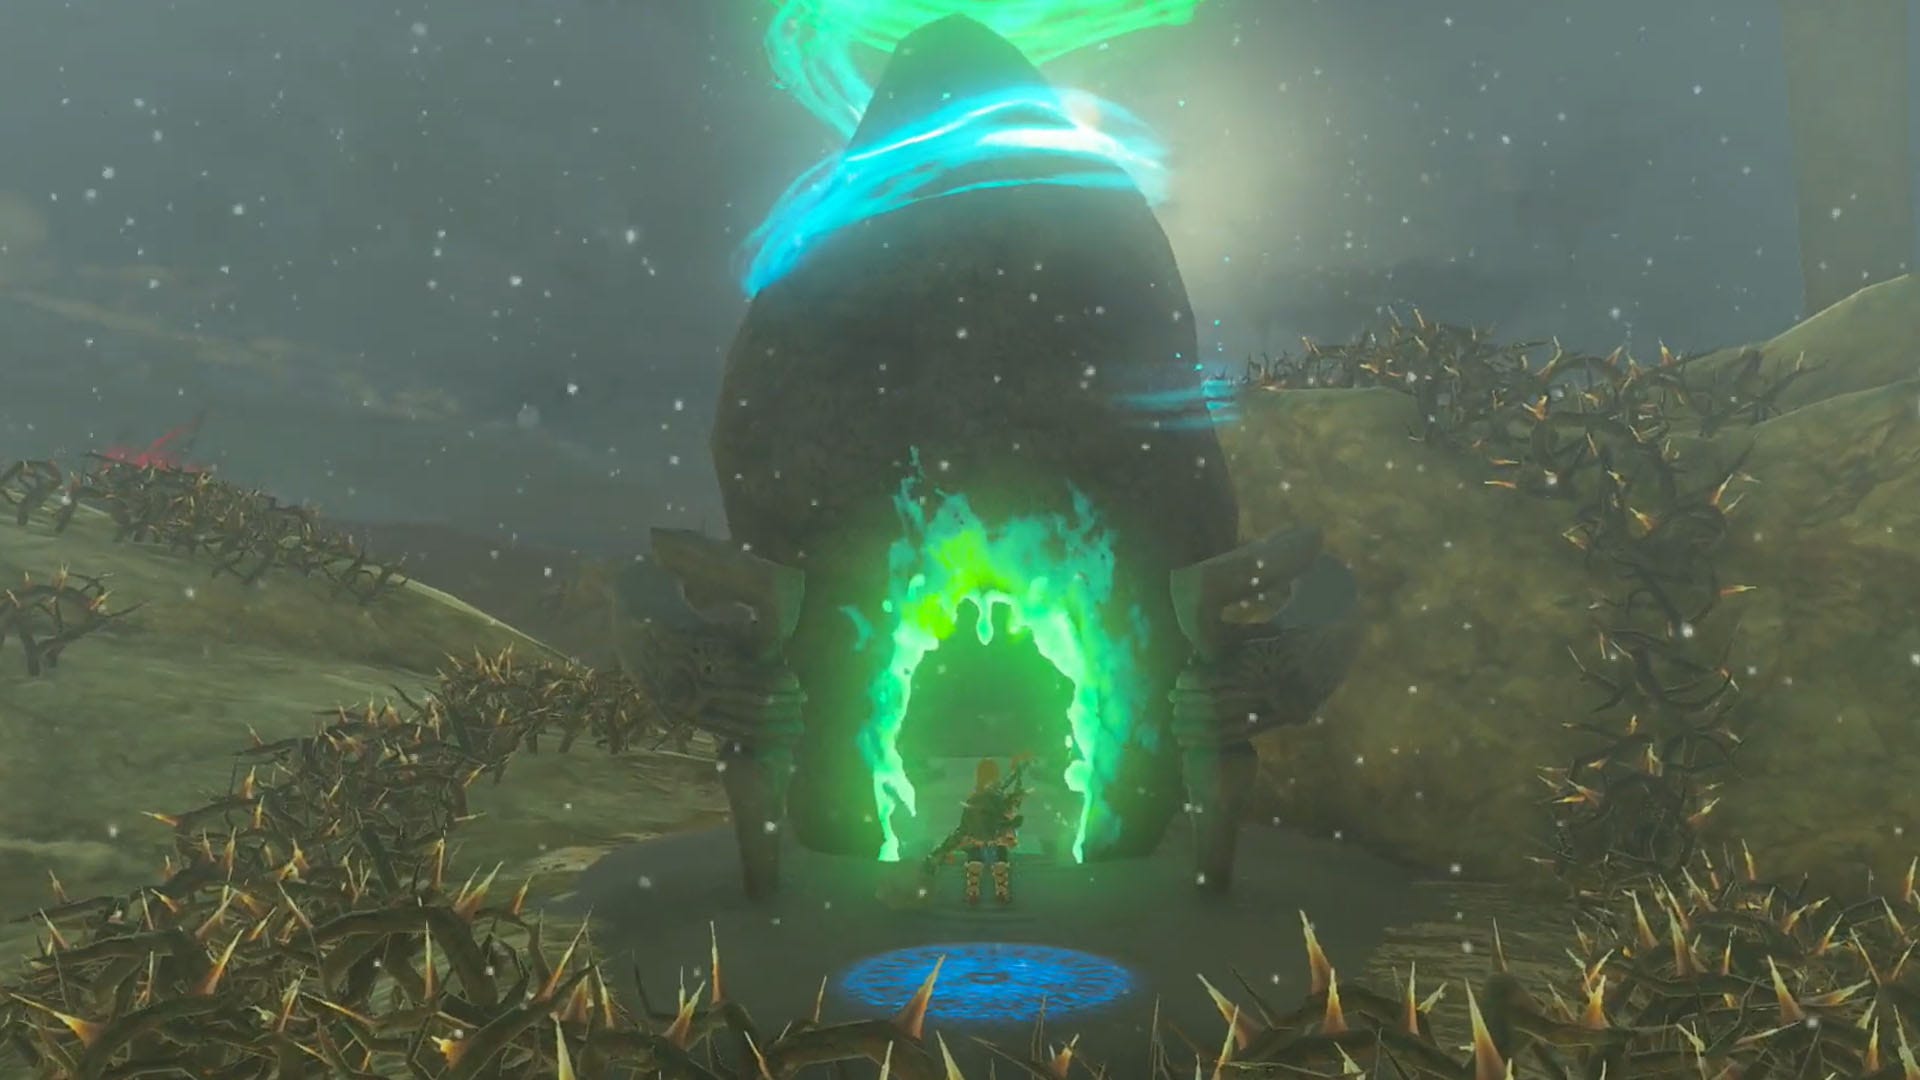
Zelda Tears of the Kingdom Oromuwak Shrine solution
How to find and solve the Launching Device Shrine.

The Oromuwak Shrine in Zelda: Tears of the Kingdom in the Tabantha Frontier will test your building skills by letting you play around with several small rockets.
As with some of the other Shrines in Zelda: Tears of the Kingdom, you will need the Ultrahand ability to be able to complete the Oromuwak Shrine. If you don't have this ability, we recommend heading to the Ukoh Shrine first to grab it before heading back here.
Without further ado, we're here to show you how to complete the Oromuwak Shrine in Zelda: Tears of the Kingdom.
On this page:
If you'd like to learn more about Link's adventure, visit our Zelda: Tears of the Kingdom walkthrough.
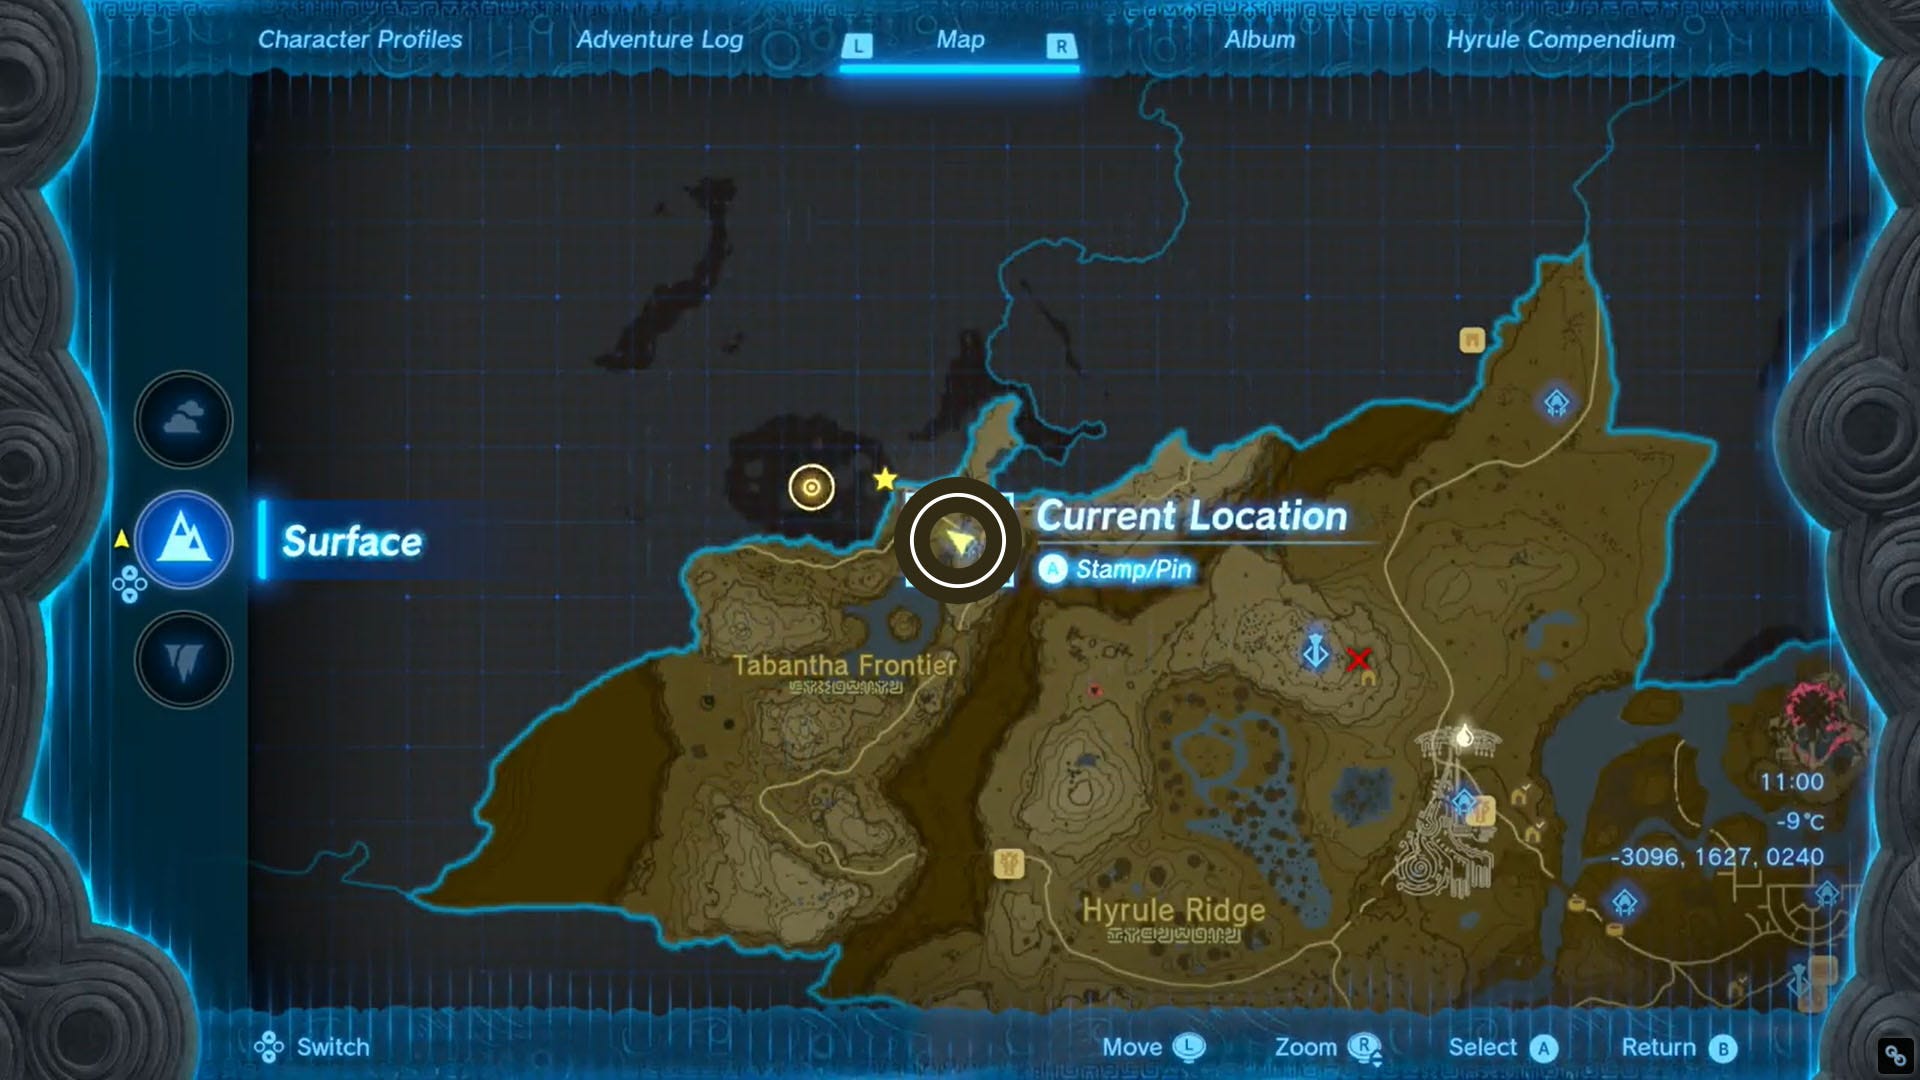
Oromuwak Shrine location
The Oromuwak Shrine can be found in the north east portion of Tabantha Frontier and north west of Hyrule Ridge. When you get near to the Shrine, you will notice that it's surrounded by thorns. To get to the entrance of the Shrine, walk up the cliff located directly beside the Shrine itself and jump off of it to gently glide to the entrance using your Paraglider.
We've marked its exact location on the map below:
Tears of the Kingdom has finally arrived and our Zelda: Tears of the Kingdom walkthrough will help guide your quest. Your adventure begins on the Great Sky Island where you'll have to complete the Ukouh Shrine, Gutanbac Shrine, In-Isa Shrine and Nachoyah Shrine for Link's new abilities. This will let you complete the To The Kingdom of Hyrule main quest, find Captain Hoz and get the Paraglider. During your journey, you will want to complete the Jiosin Shrine, Susuyai Shrine, Ishodag Shrine, Kiuyoyou Shrine, Oromuwak Shrine and Sinakawak Shrine. We also have guides on how to get to the sky, how to get the Archaic Tunic, how to beat the Flux Construct I, Amiibo unlocks and how to tame horses.
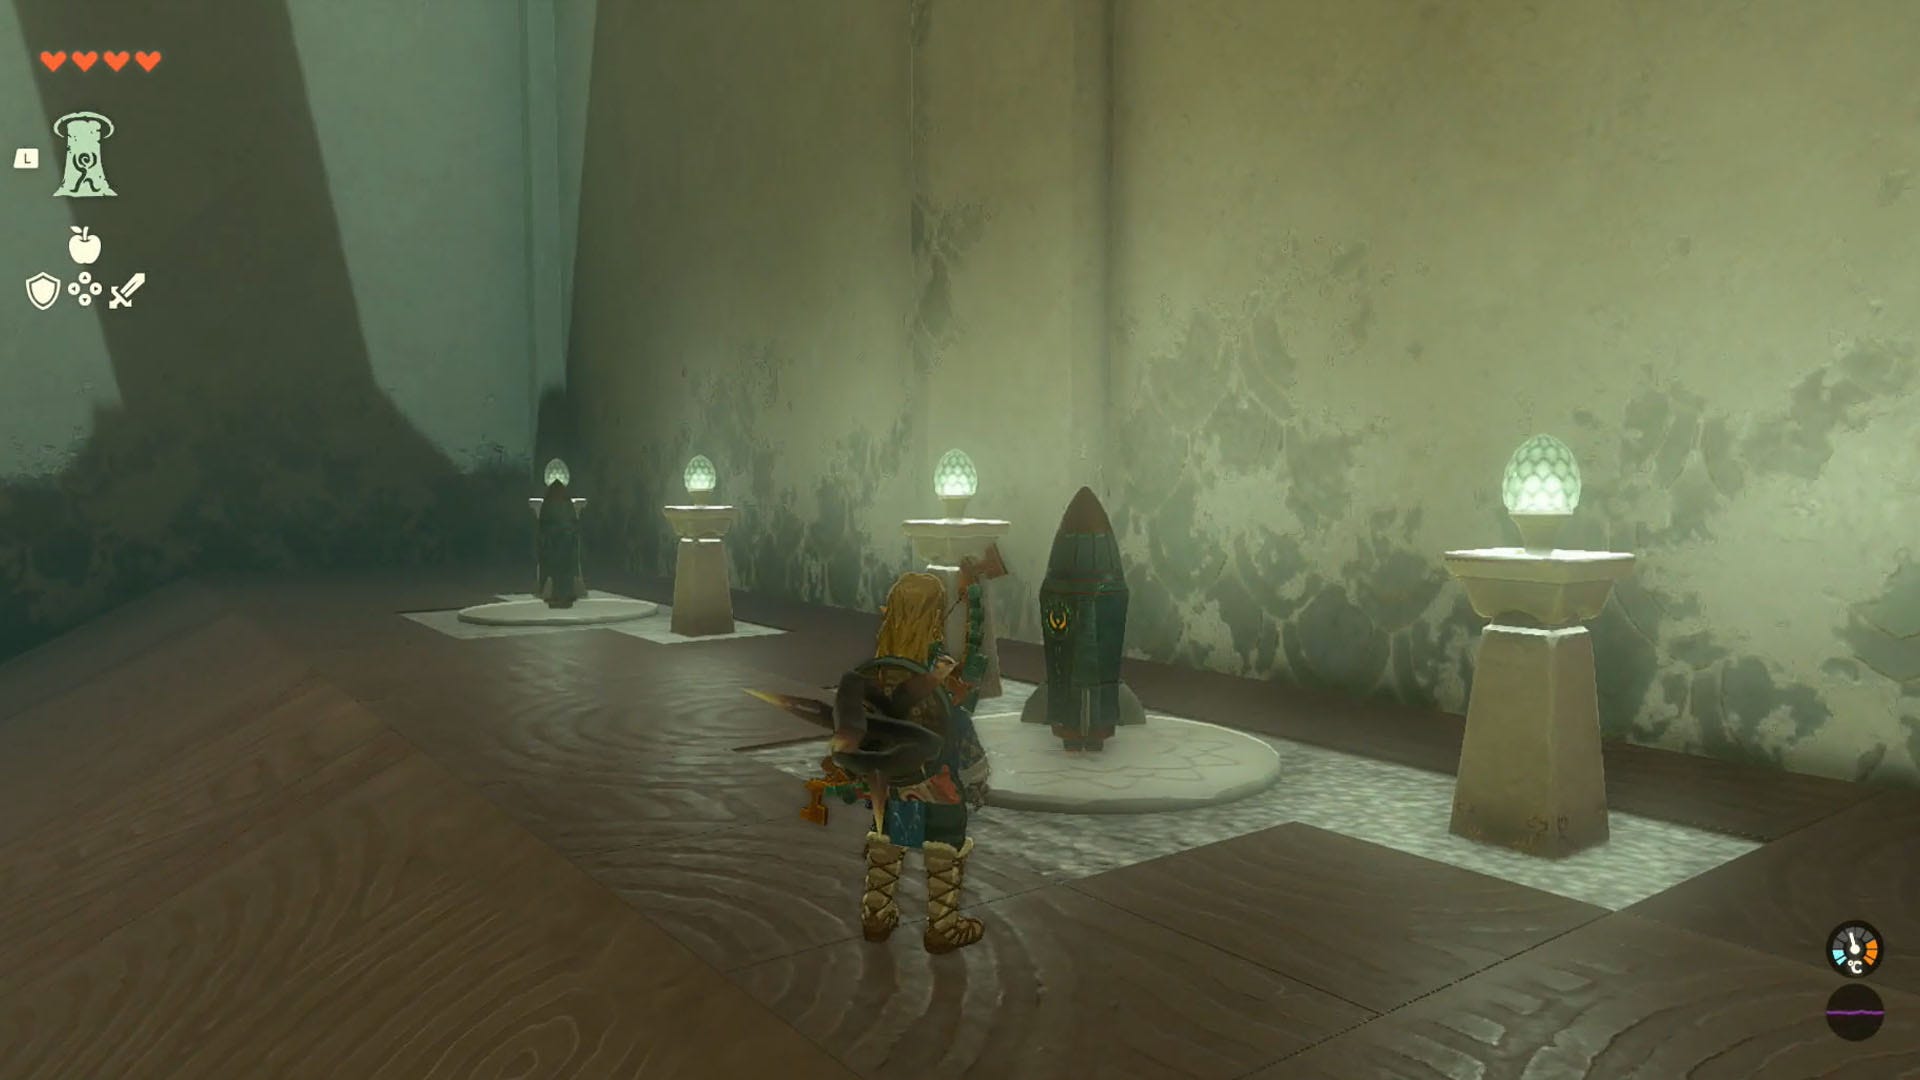
Oromuwak Shrine puzzle solution
When you first walk into the Oromuwak shrine to complete the Launching Device puzzle, look to your right. You should see two rockets sitting on stone circles. Walk over to these and grab one of them using Ultrahand.
Then, carry the rockets over to the opposite side of the room. You should notice a large target on the wall here and a small slanted platform sitting below this. Place your rocket on the slanted platform with the tip of the rocket pointing towards the target.
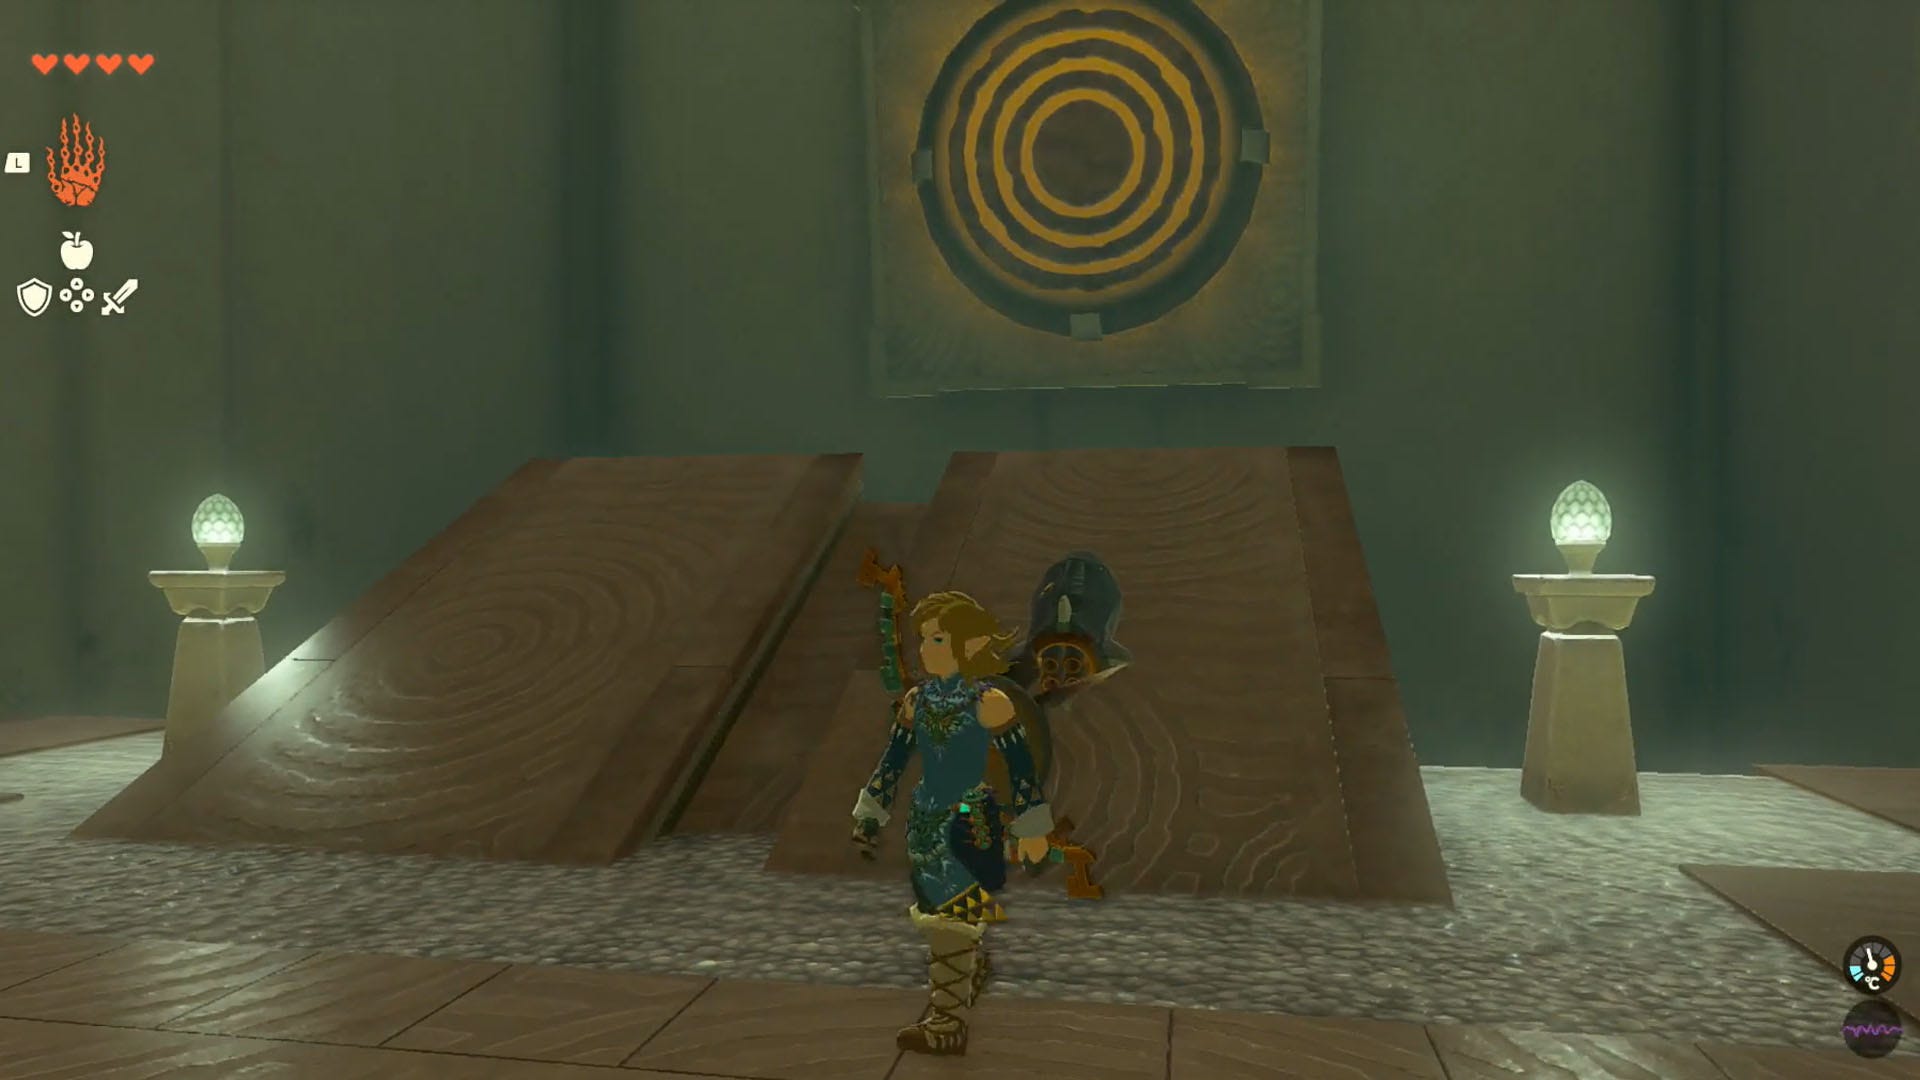
Hit the rocket with your equipped weapon to get it to launch into the target. If it hits the target, it will turn green and the gate to the second area will open.
When you head into the second area, you should see a cart sitting on a railing in the middle of the room. The railing the cart is sitting on is extending upwards to the next area, and you need to power up the cart to take you up here.
To do this, head back into the first room of the Shrine and the rockets should have respawned. Using Ultrahand, carry both rockets back into the second room.

Then, use Ultrahand to pick up the cart from the central rails and place it onto the ground. While still using Ultrahand, place a rocket on either side of the cart with the tip of the rocket facing in the same direction that the railing is, leading to the next area.
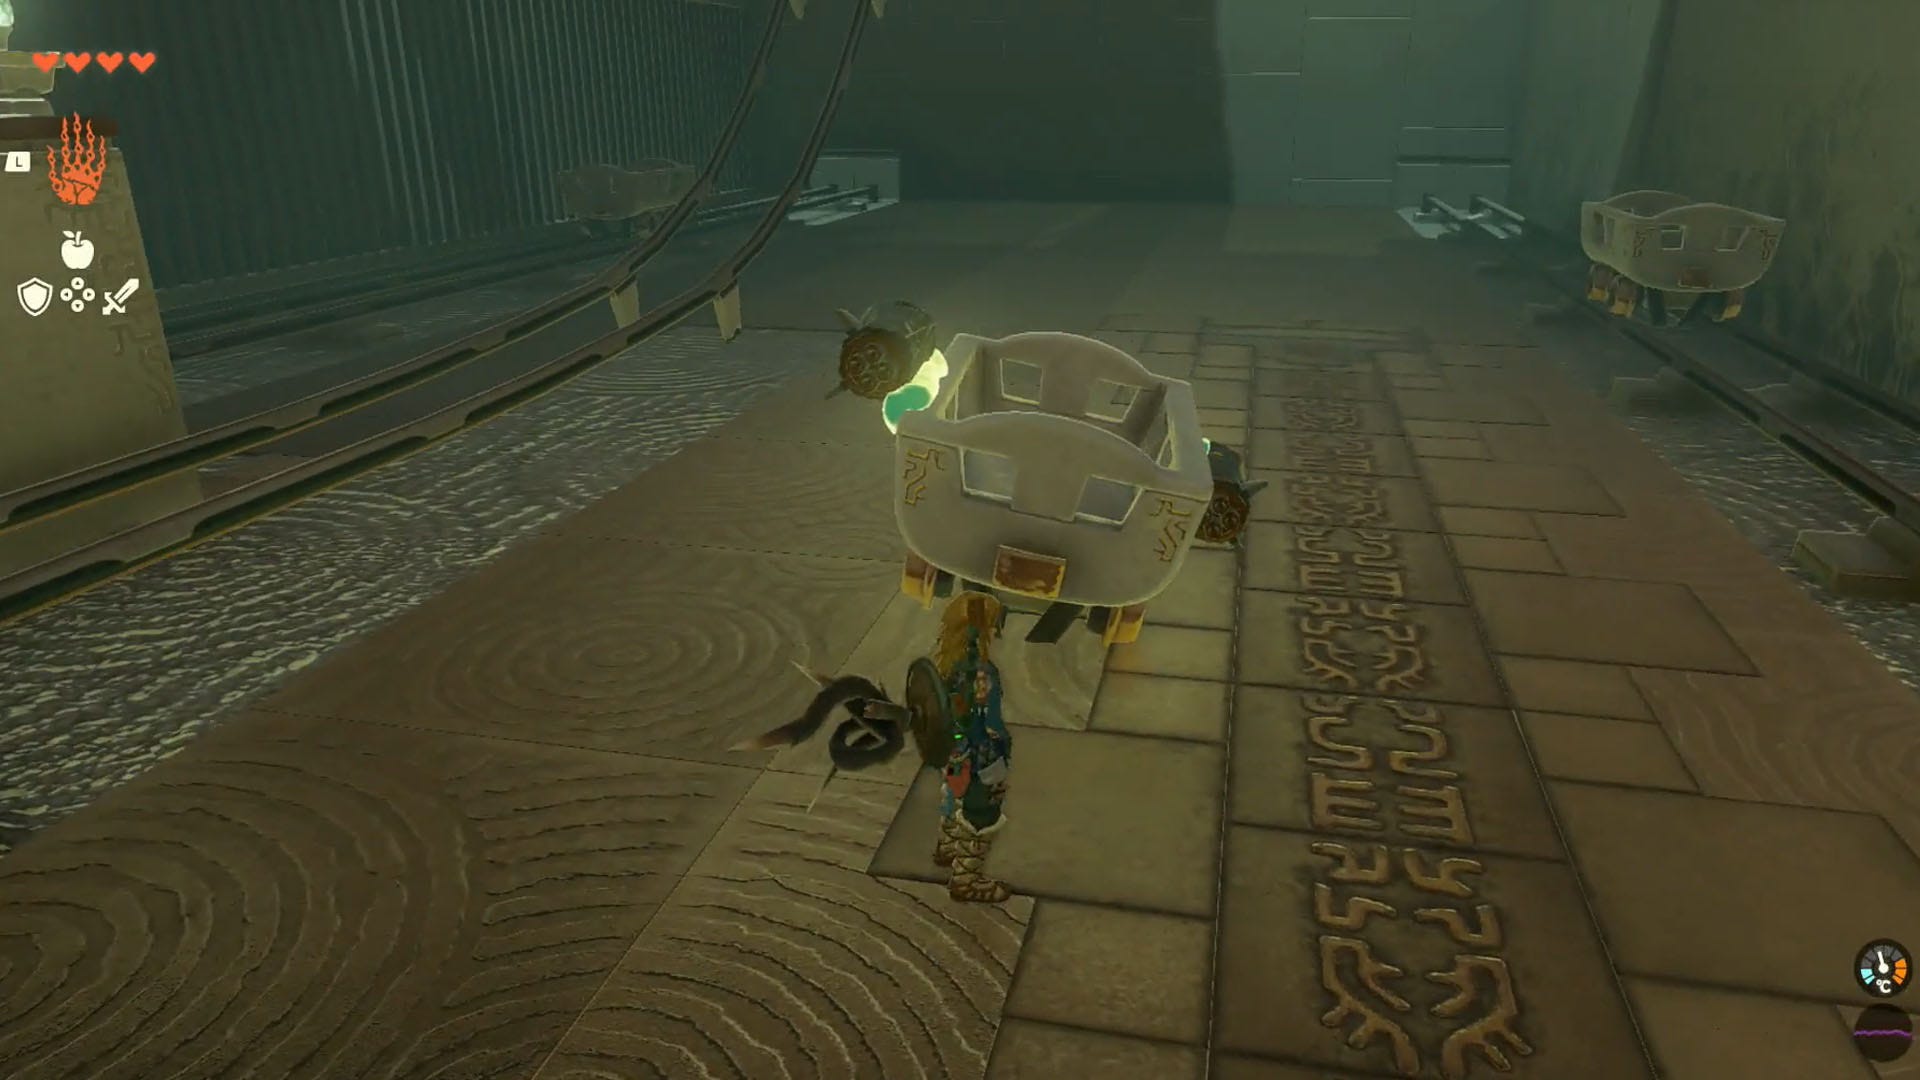
Once you have done this, place the cart back on the railings in the middle of the room. Walk up the slope and small platform on the left side of the rails, then jump into the cart.
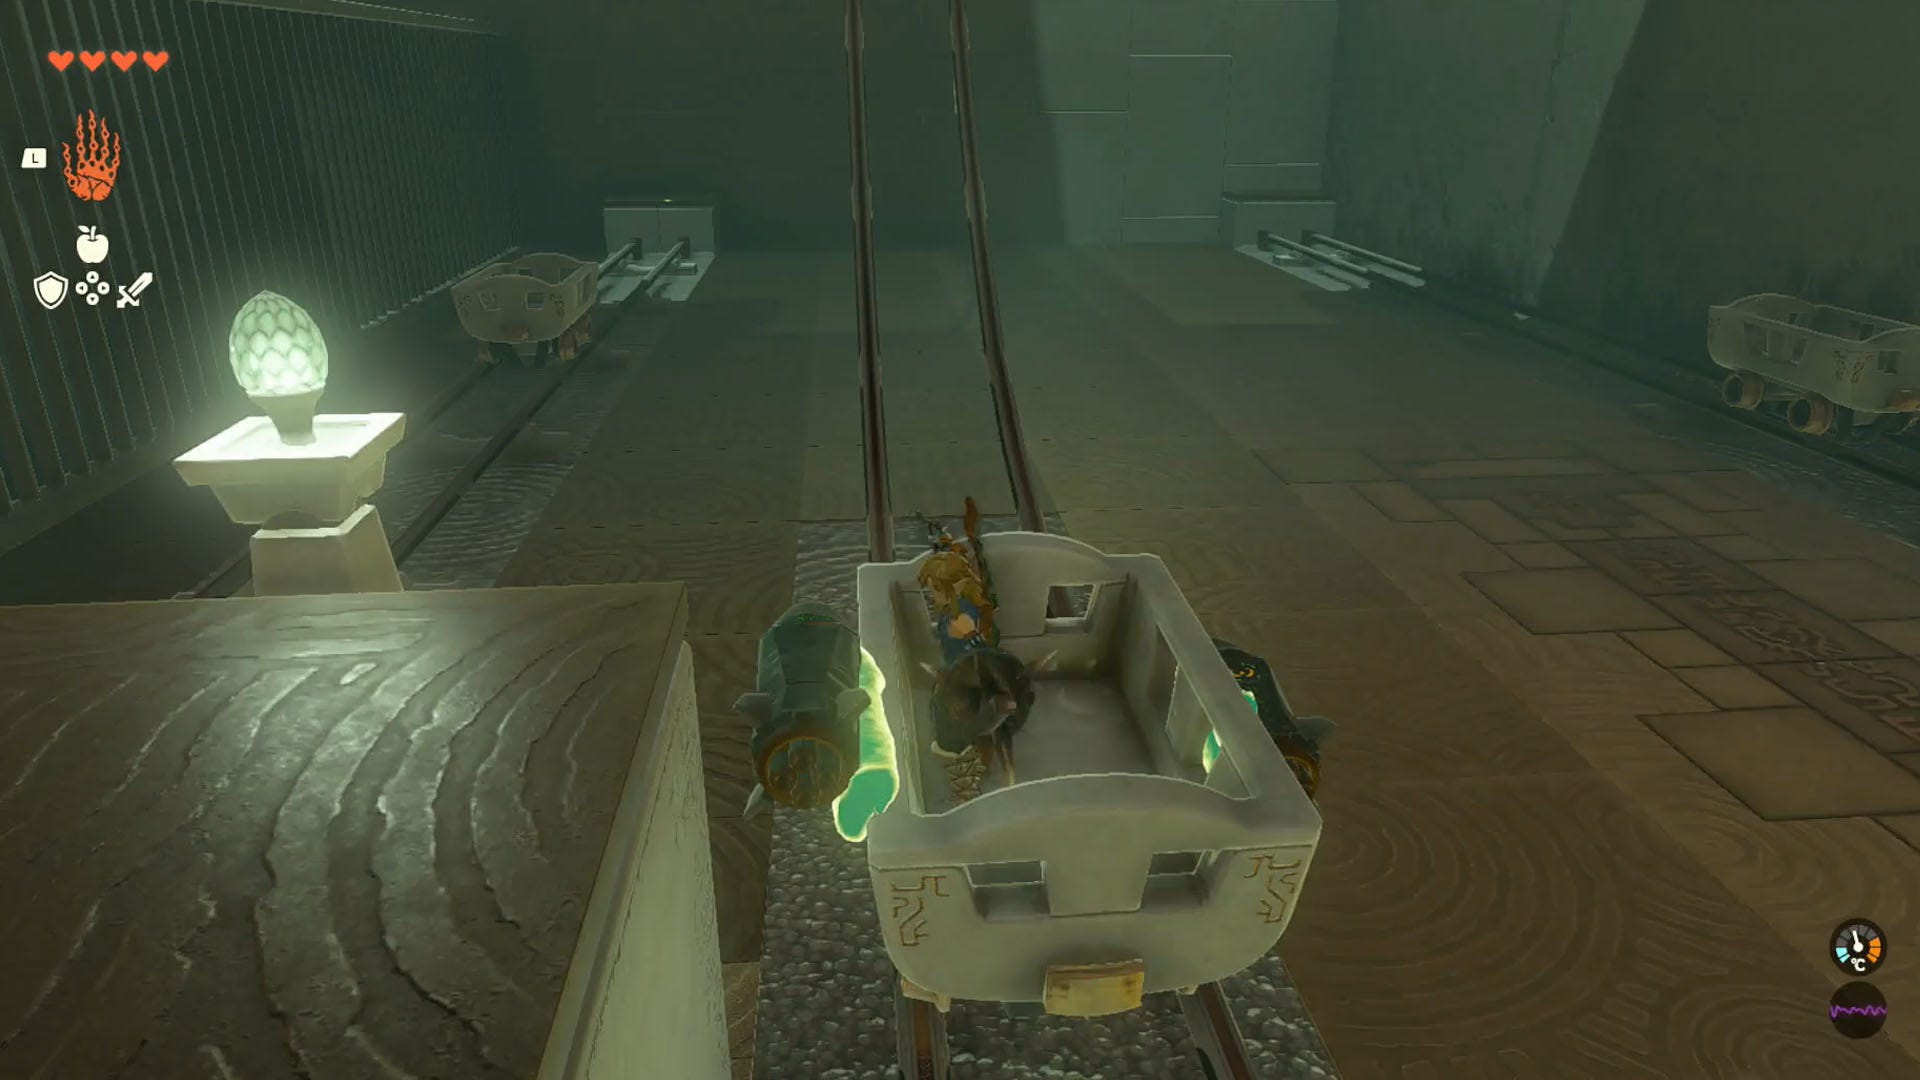
When you are in the cart, whack the rockets to start them and ride the cart up to the next area. When you get up to this next area, be prepared to use the Paraglider when the rockets fall off the cart or you may sustain serious fall damage.
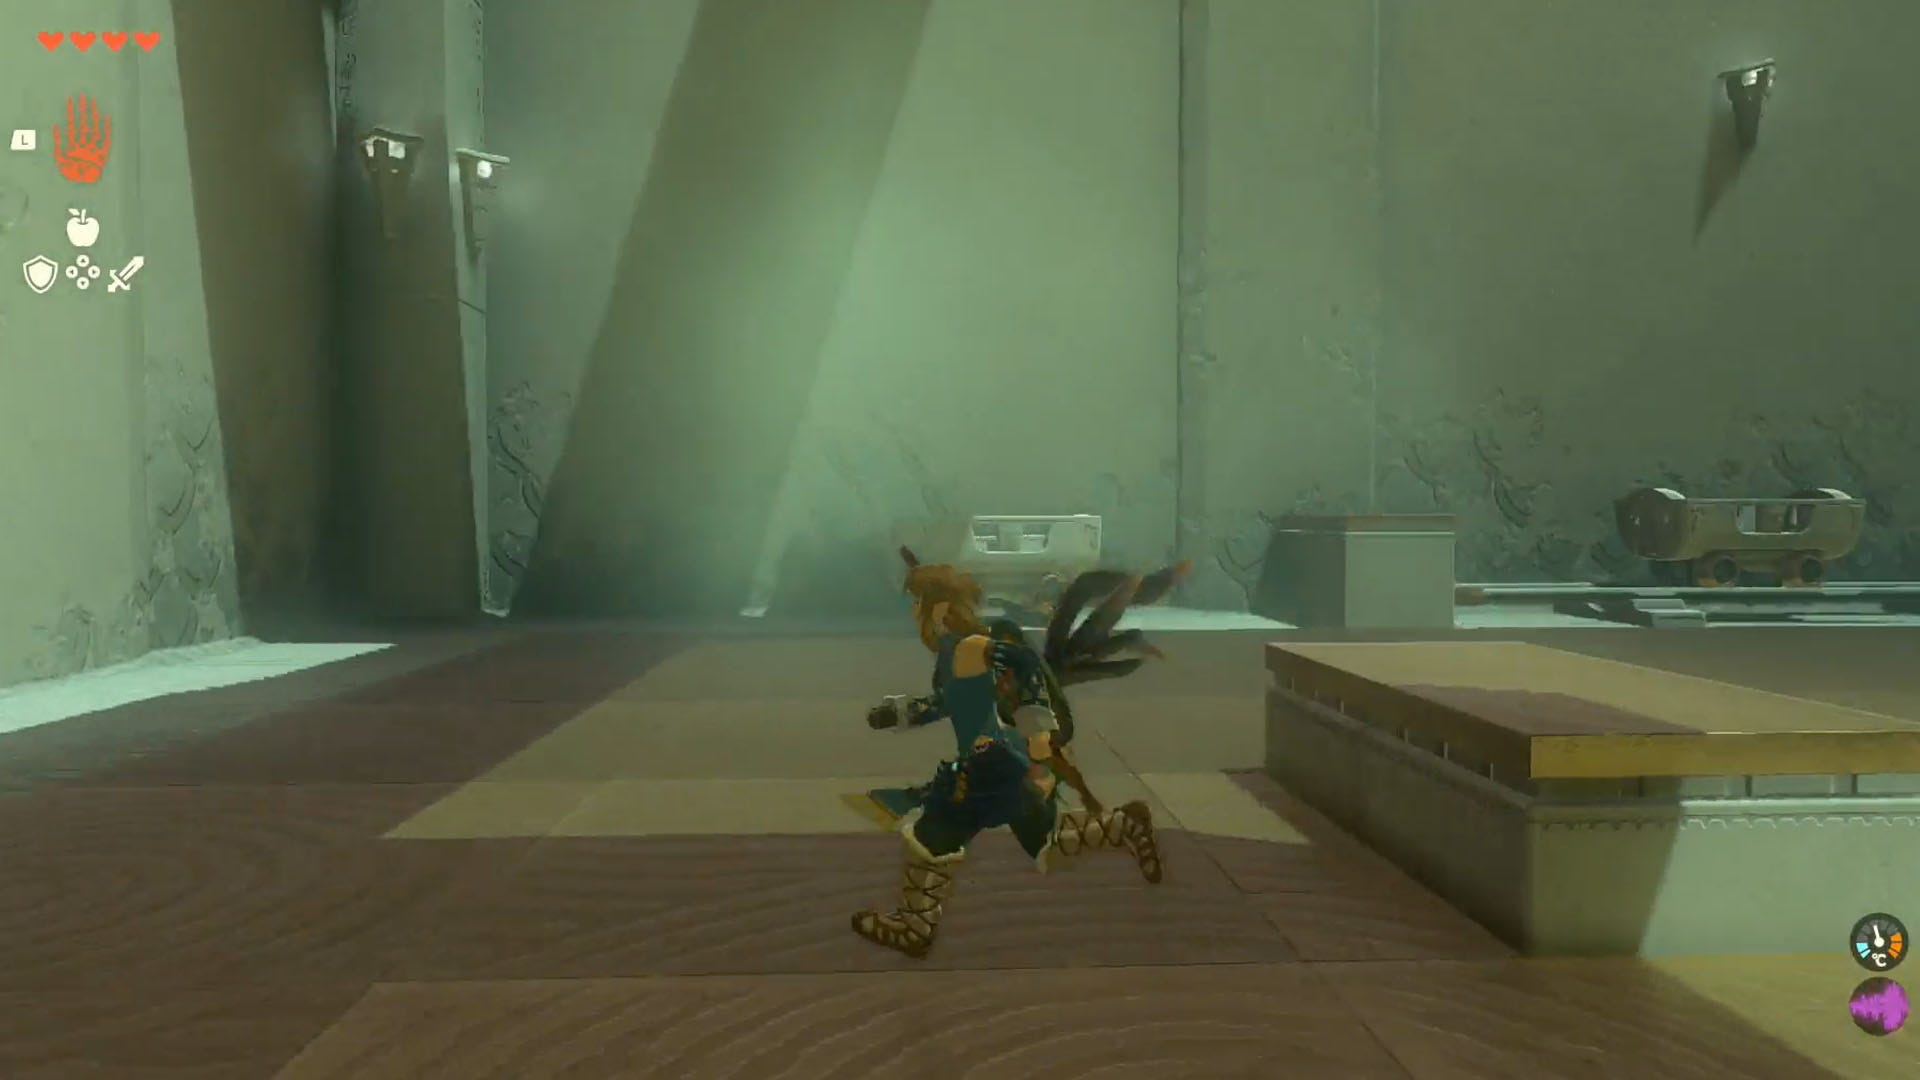
Now, this is the final area of the Shrine. Up here, you should find a trio of rockets on a slanted platform on the left side of the area. On the right side of the area, you should see a few discarded carts.
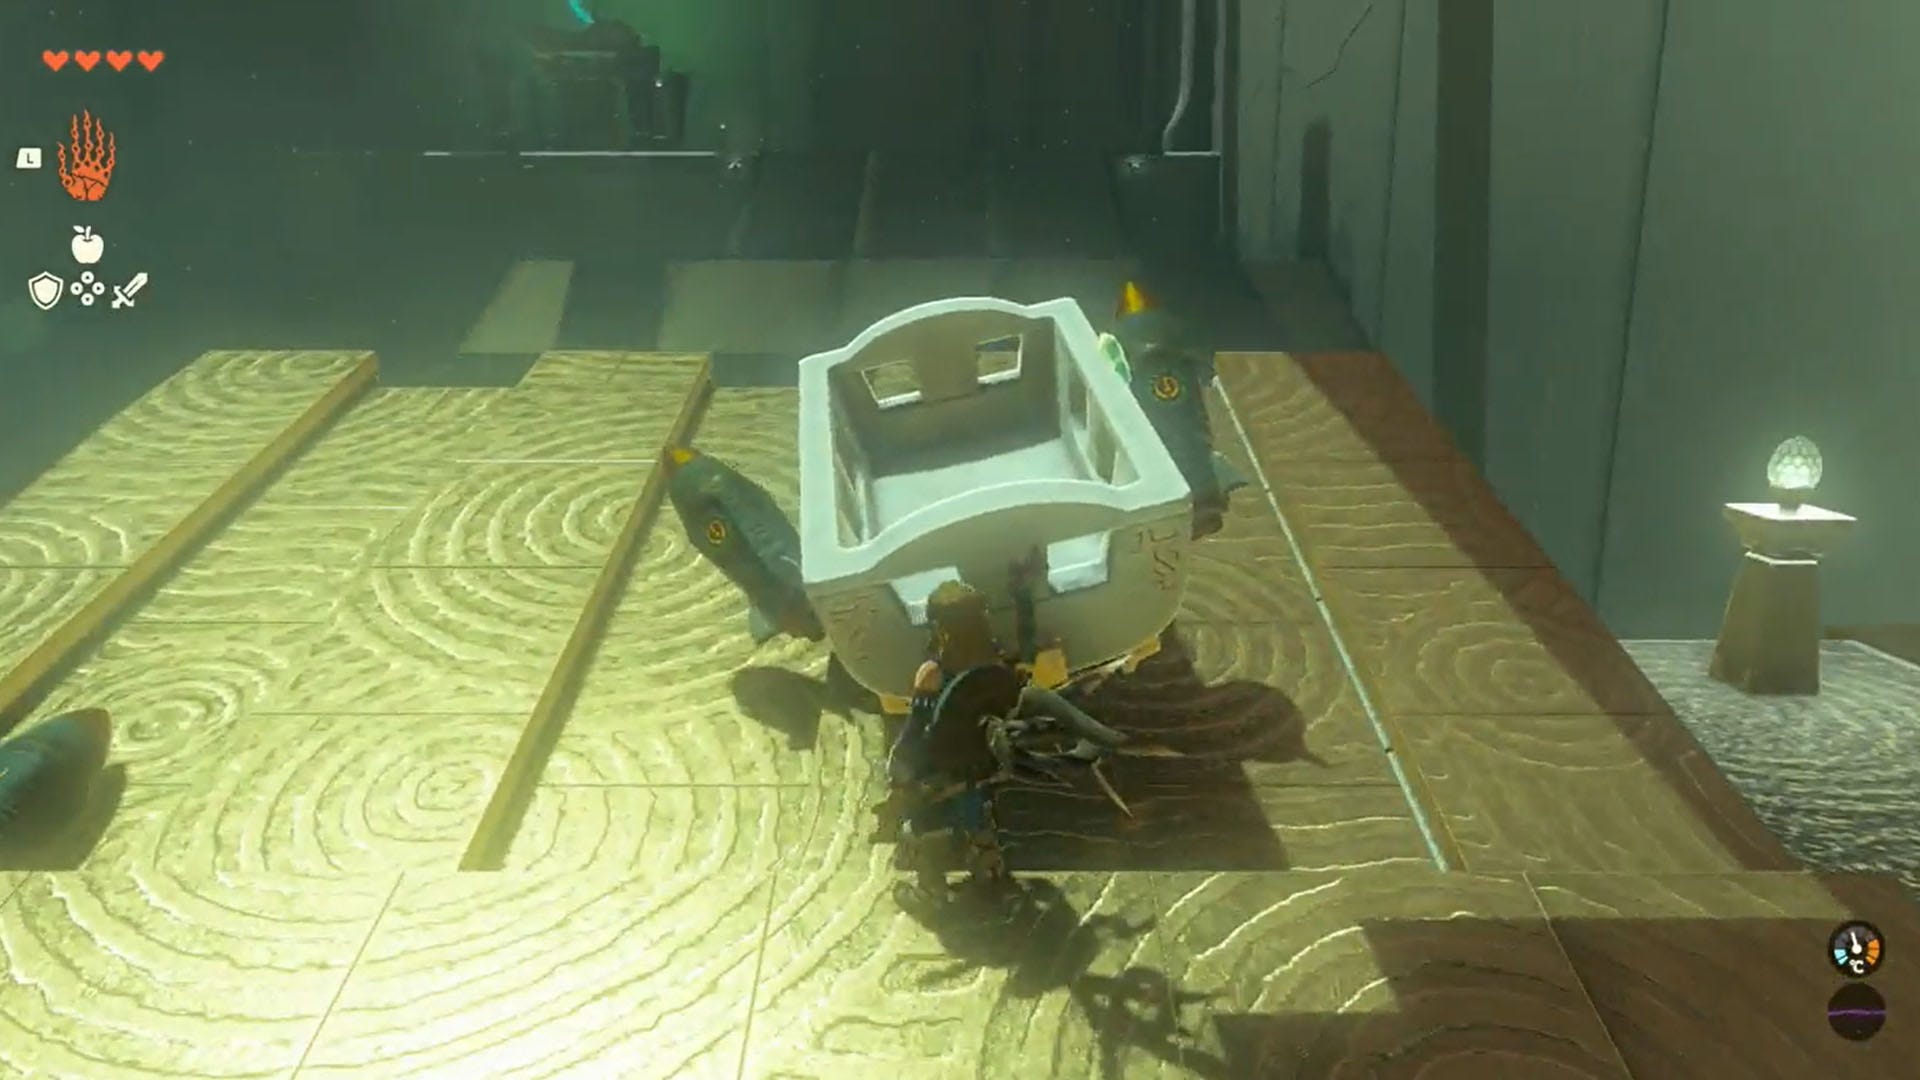
Use Utrahand to pick up one of the carts and place it onto the slope with the trio of rockets on it. We'd recommend placing it in the middle section of the slope here.
Then, as you did earlier, place a rocket on either side of the cart using Ultrahand. Make sure the tips of the rockets are pointing to the opposite side of the large gap, you facing the Light of Blessing point.
When ready, hop into the cart and whack the rockets to activate them. Ride the cart across the gap, using Link's Paraglider to soften the fall once you get to the other side.
Now, all you need to do is collect your Light of Blessing.
That's it for the Oromuwak Shrine, we hope you enjoy the rest of Link's adventure in Zelda: Tears of the Kingdom.