Genshin Impact Temple Where Sand Flows Like Tears walkthrough and puzzle solutions
Jeht 2.

Temple Where Sand Flows Like Tears is the second part of the Dirge of Bilqis World Quest in Genshin Impact.
While the first part featured a lot of talking to set the side quest up, this is where you're introduced to new Sumeru puzzle mechanics that you need to to get to grips with in order to solve the puzzles in the temple and progress the story.
Below, you'll find our Temple Where Sand Flows Like Tears walkthrough for Genshin Impact, which covers all of the puzzle solutions for the new Rune Mechanisms, as well as how to defeat Anoushbord, and where to investigate in the Emerites' camp.
On this page:
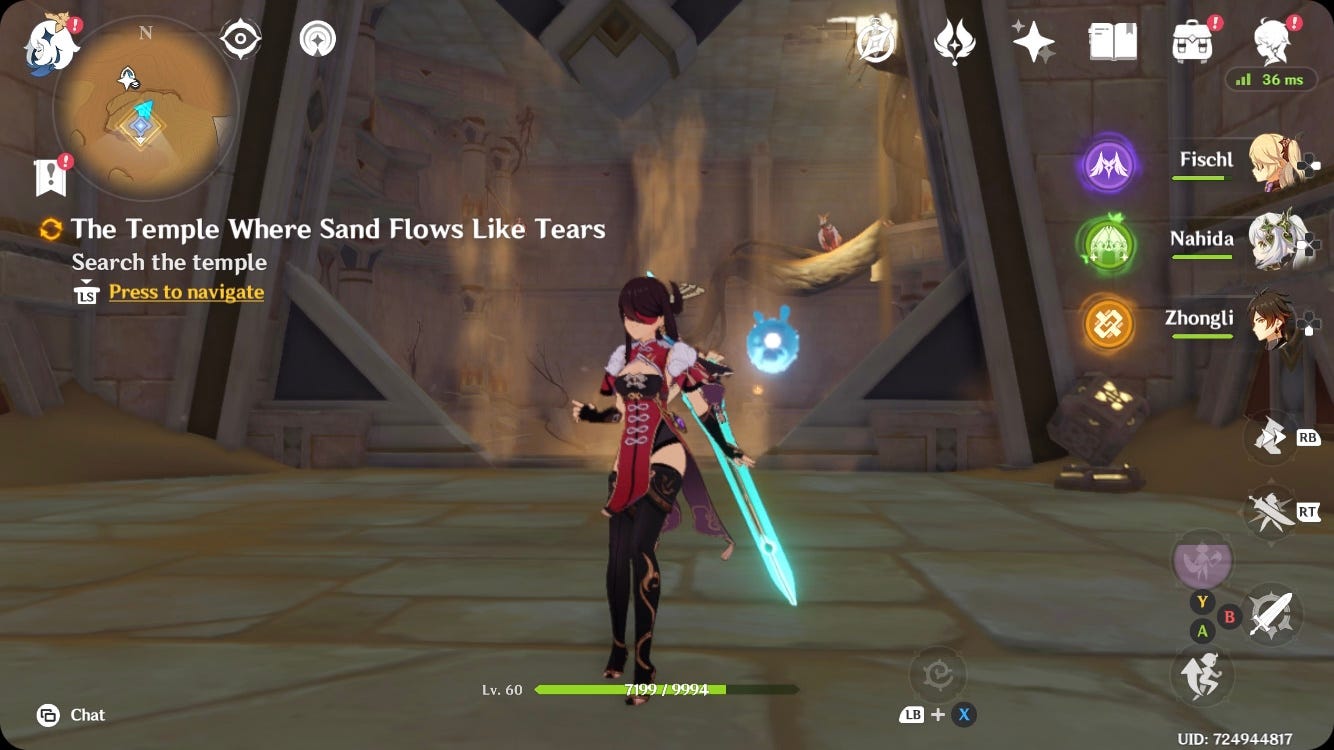
Genshin Impact Temple Where Sand Flows Like Tears walkthrough for first chamber puzzles
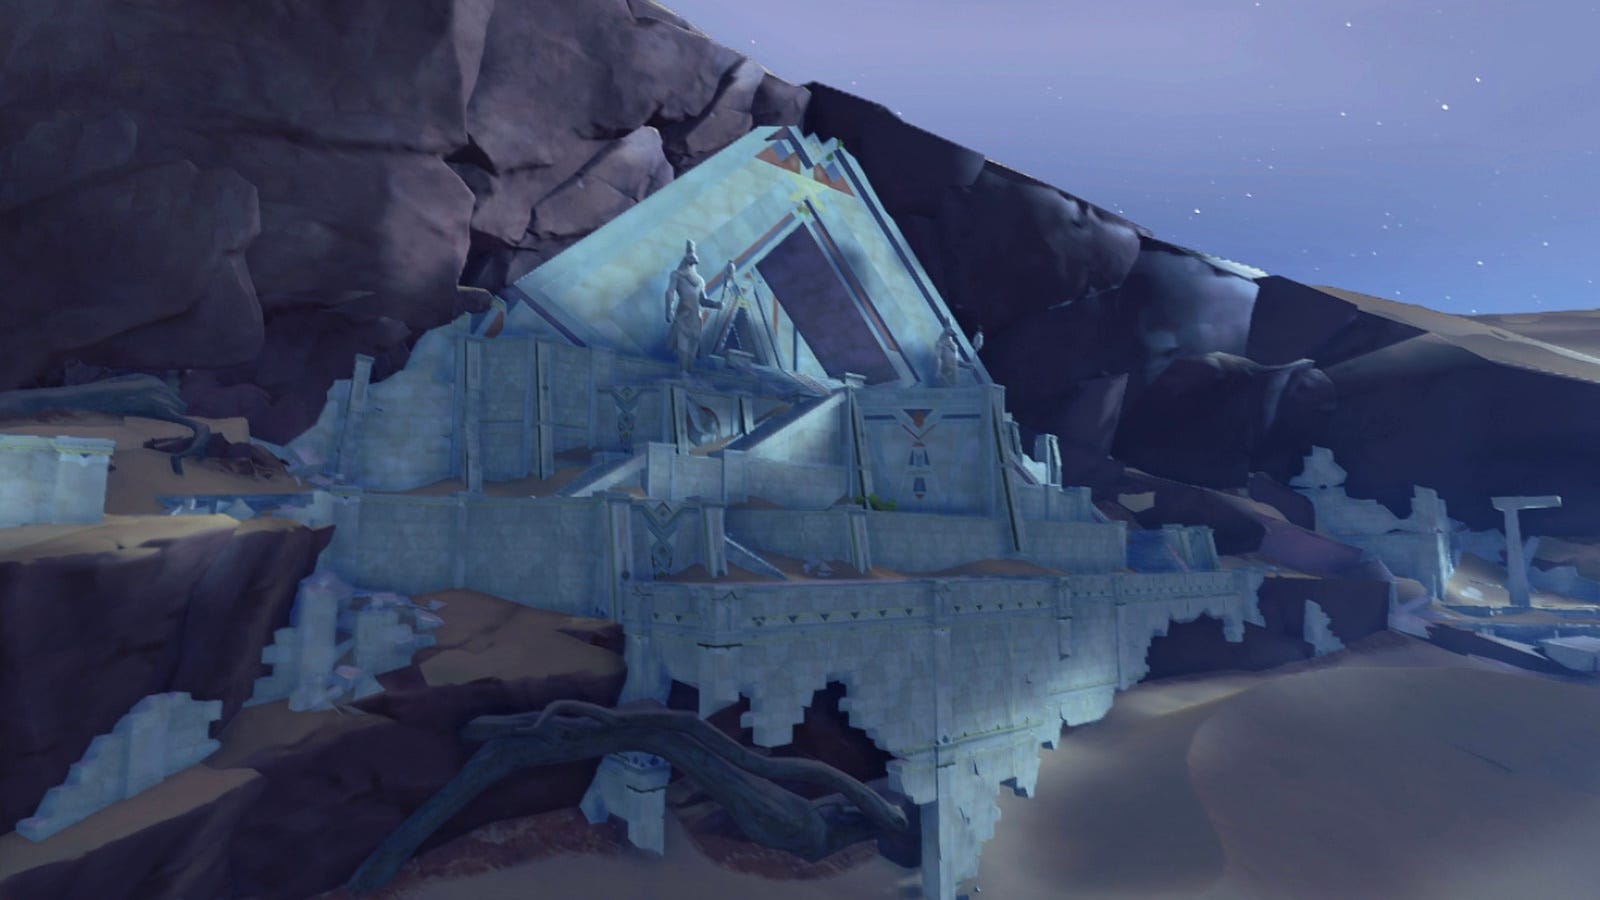
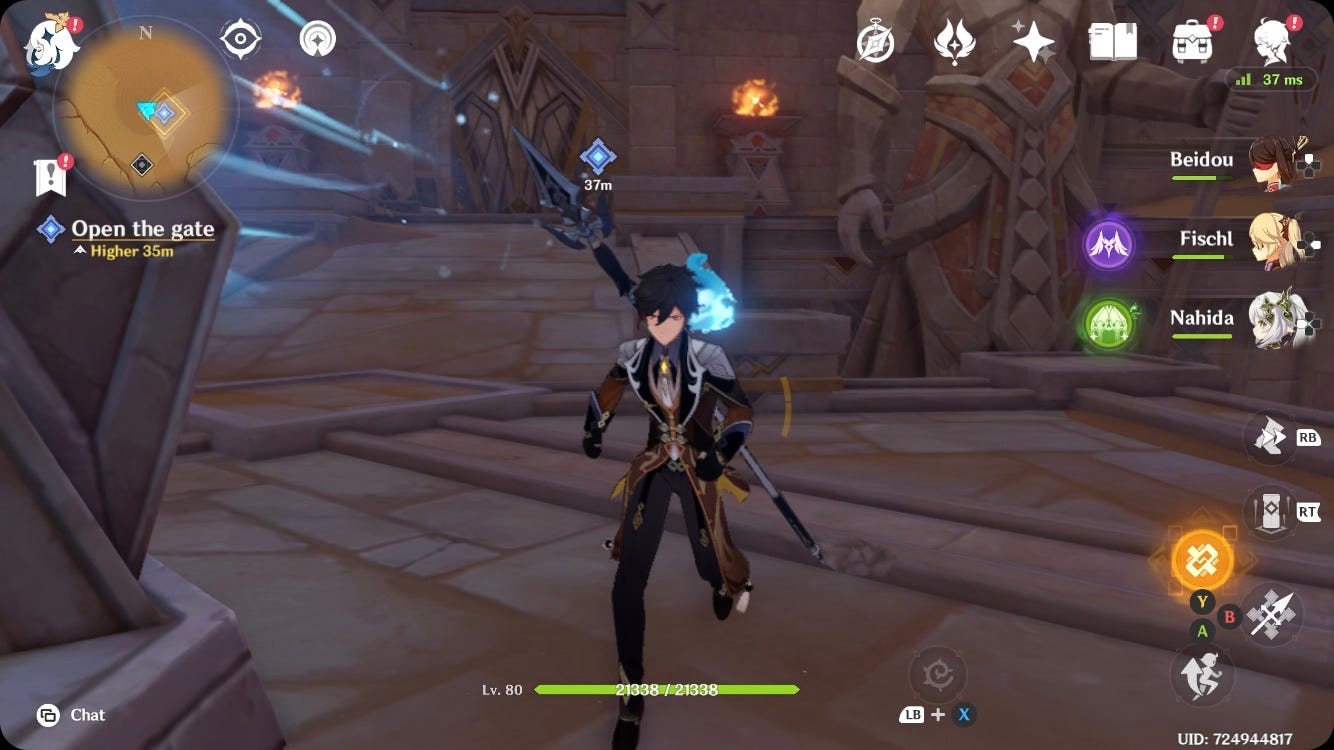
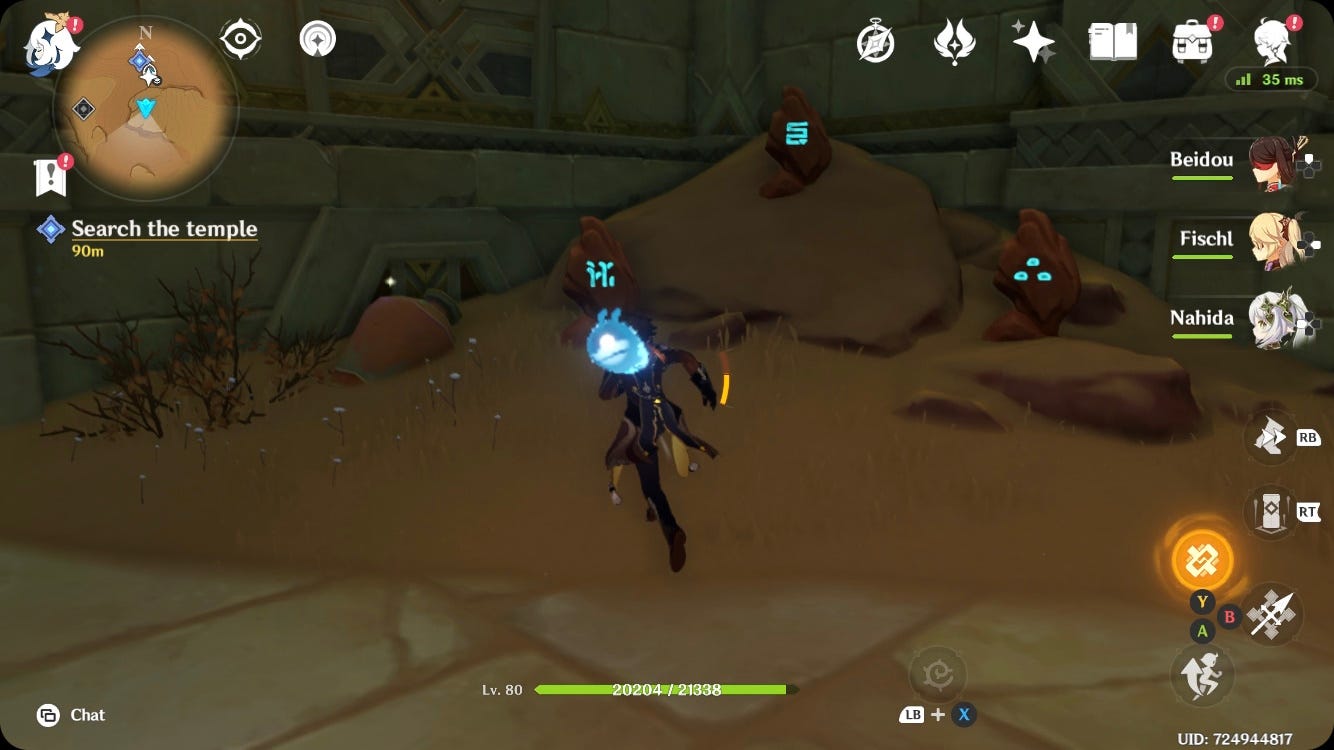
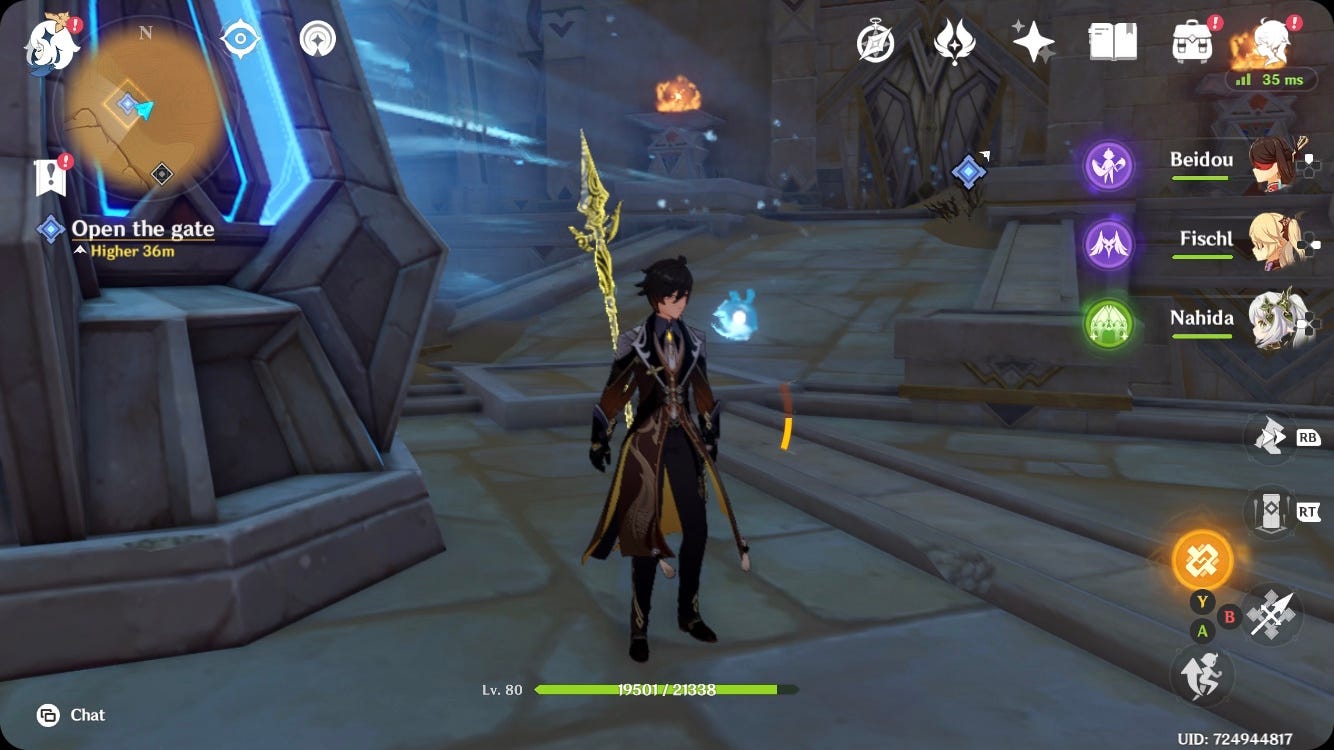
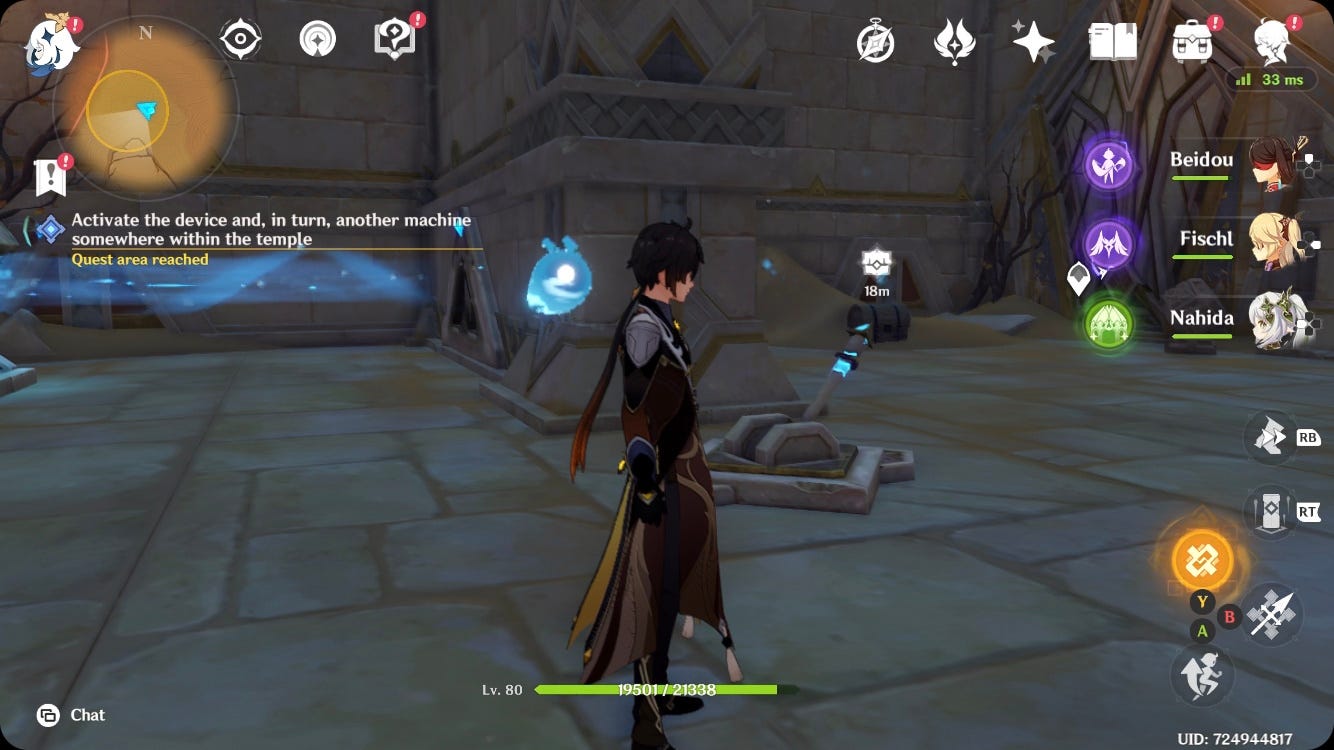
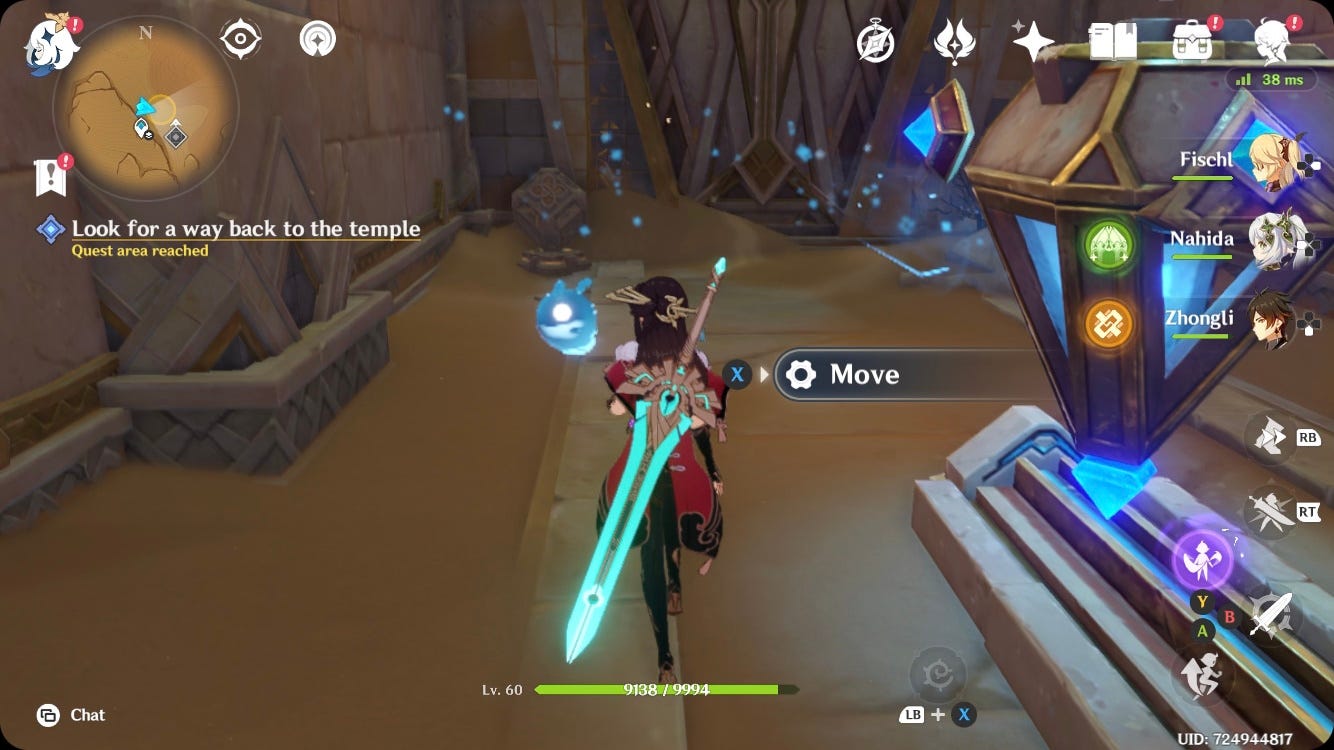
Once you've completed the 'Wisdom Has Built Her House, She Has Hewn Out Her Seven Pillars' part of the Dirge of Bilqis World Quest, you'll start the next part, which asks you to go to the temple on the outskirts of Gurabad.
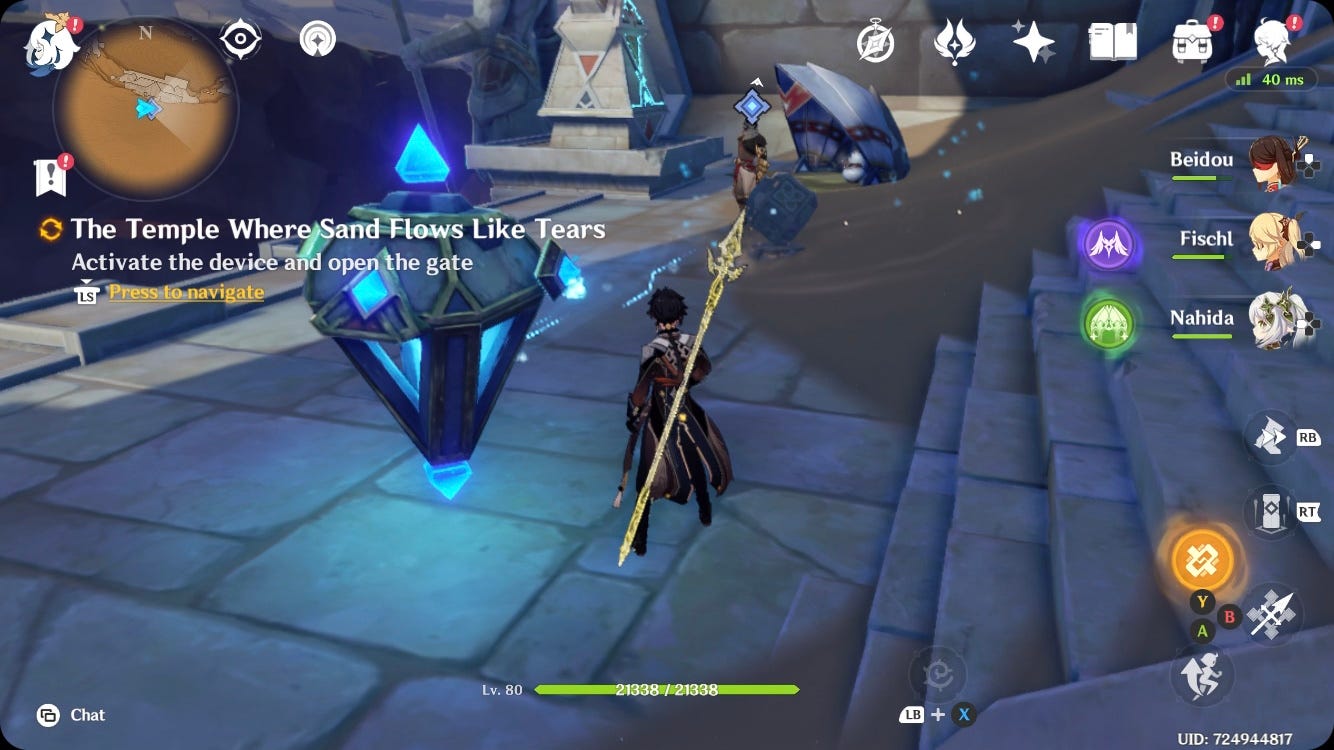
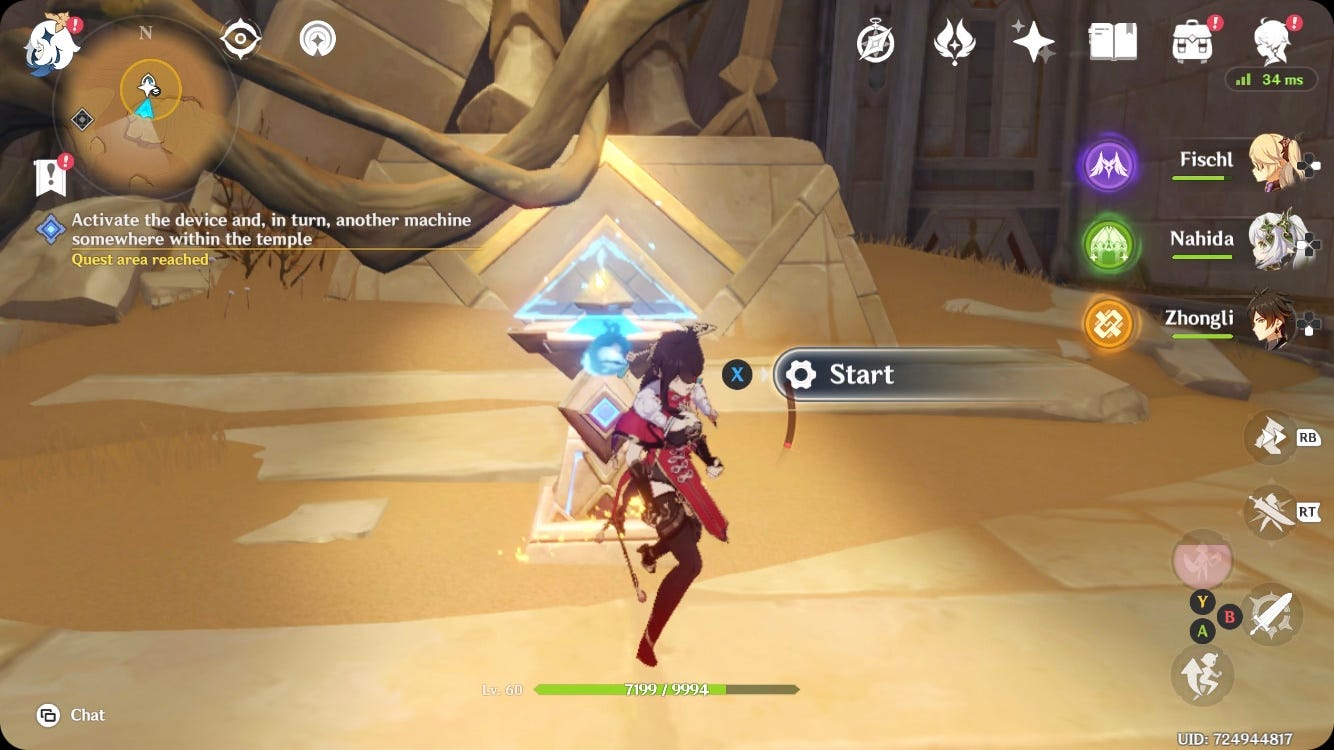
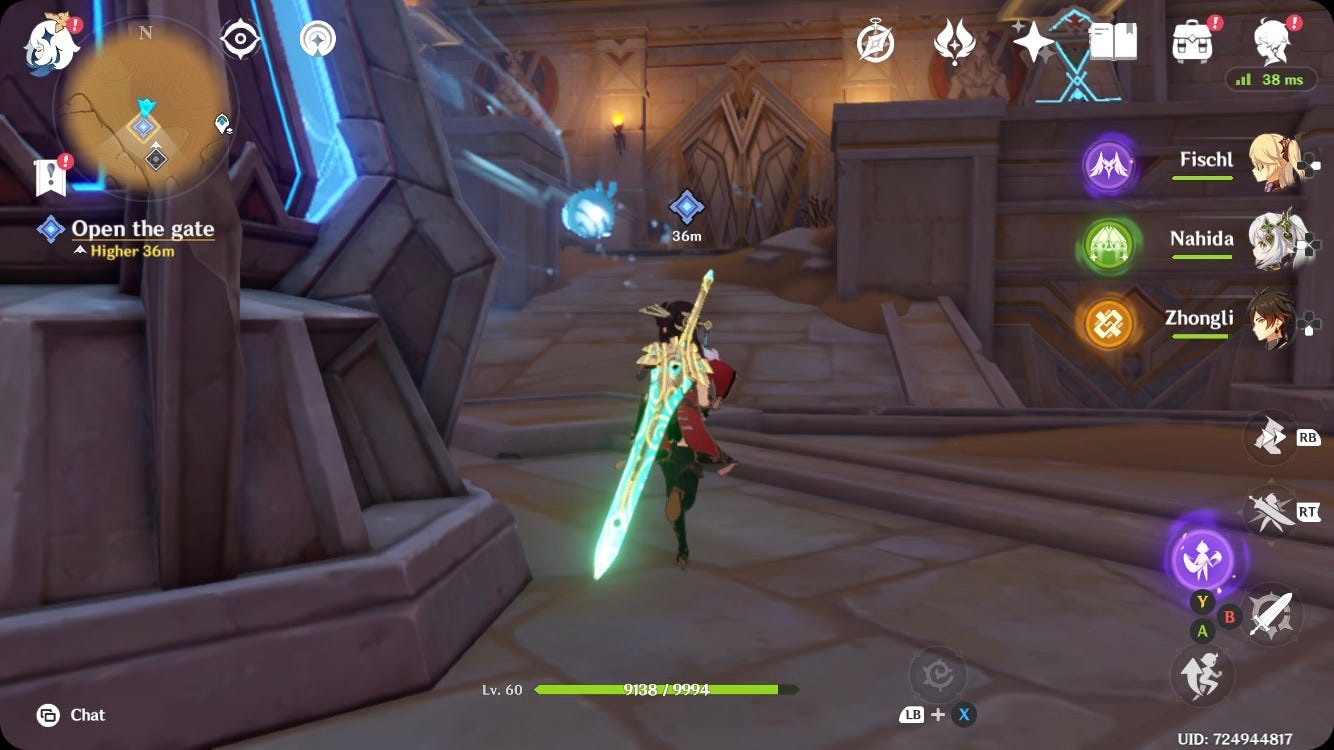
After a conversation with Jeht, you'll be introduced to Rune Mechanisms. You have to hit these devices to change the direction of the line of energy coming from them. So, to activate the first device and open the gate, hit the Rune Mechanism until its line of energy is facing the cube switch. You can now press 'Start' on the switch.
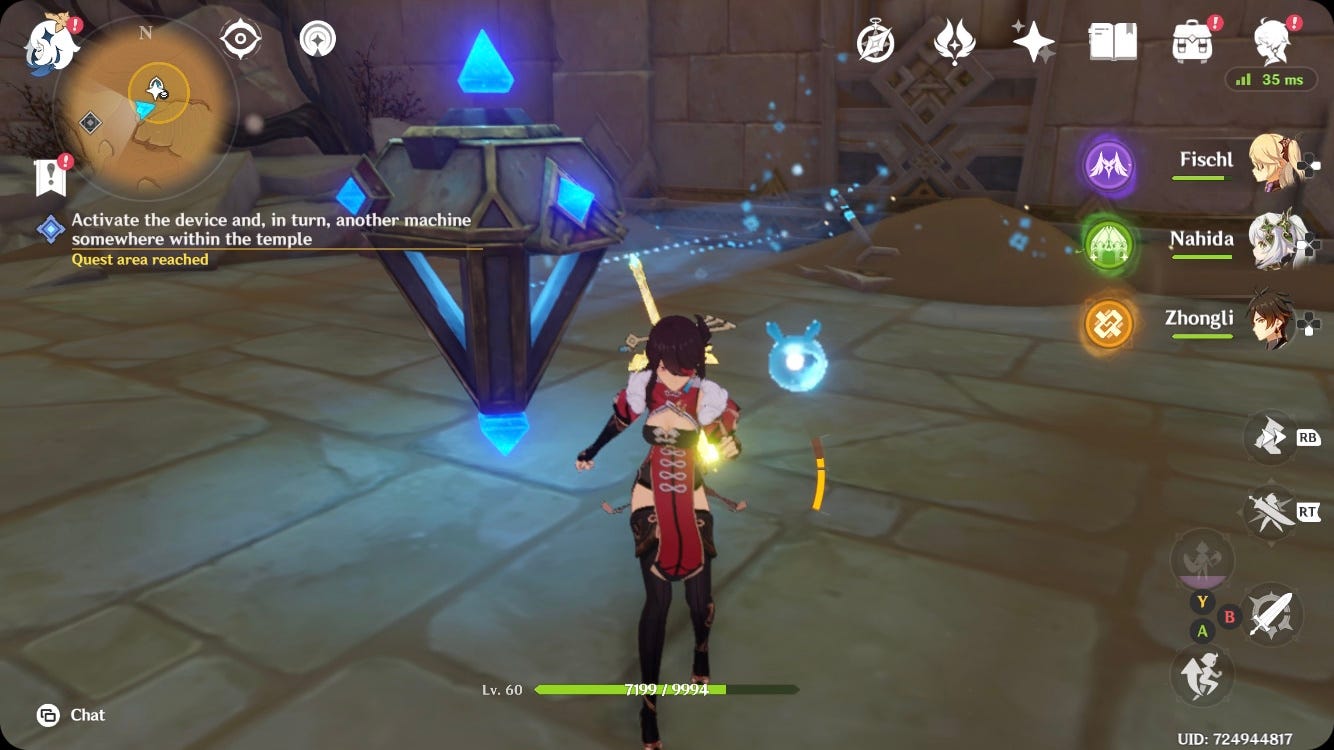
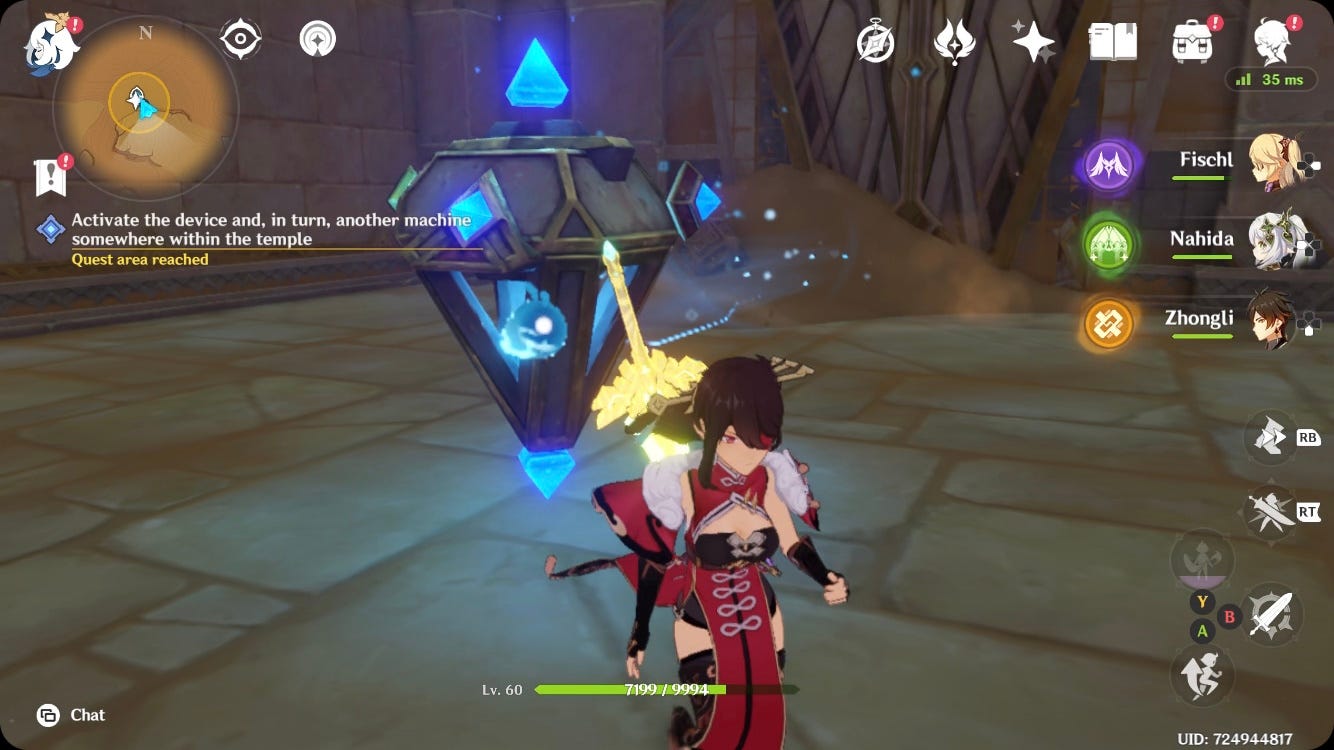
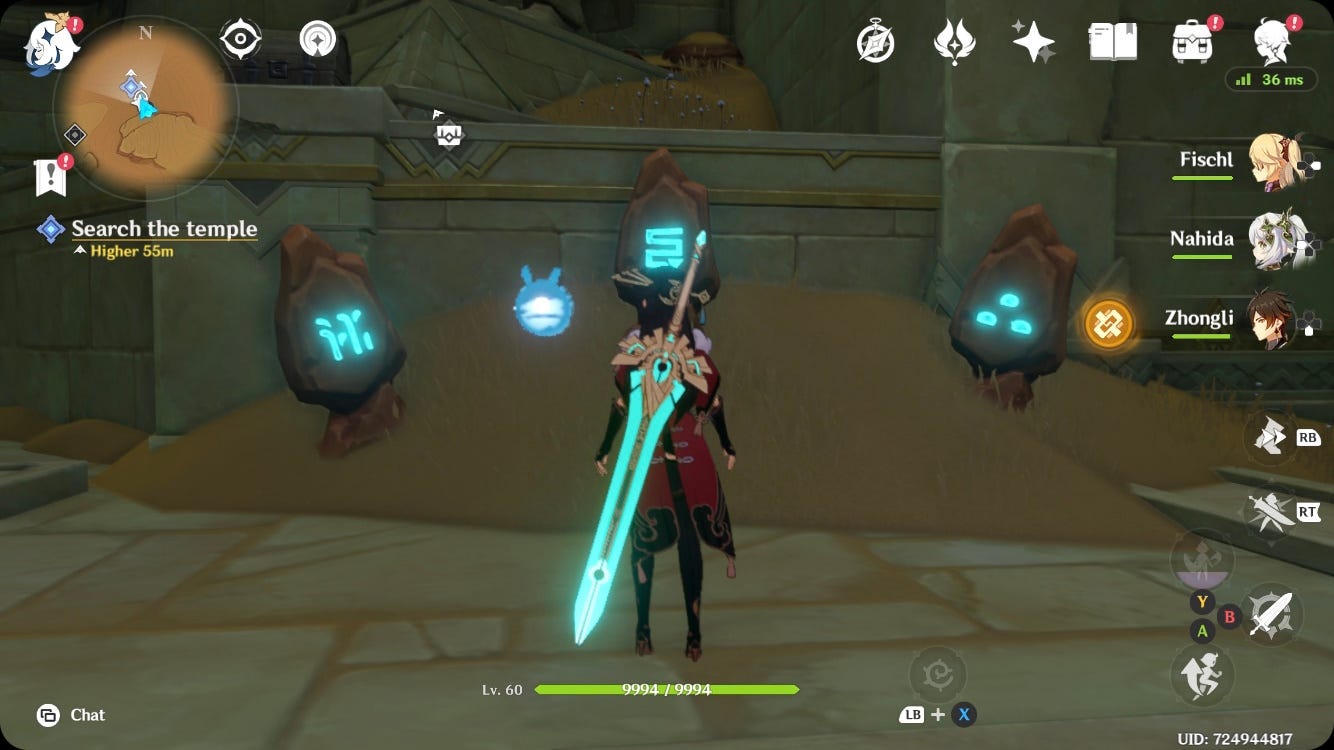
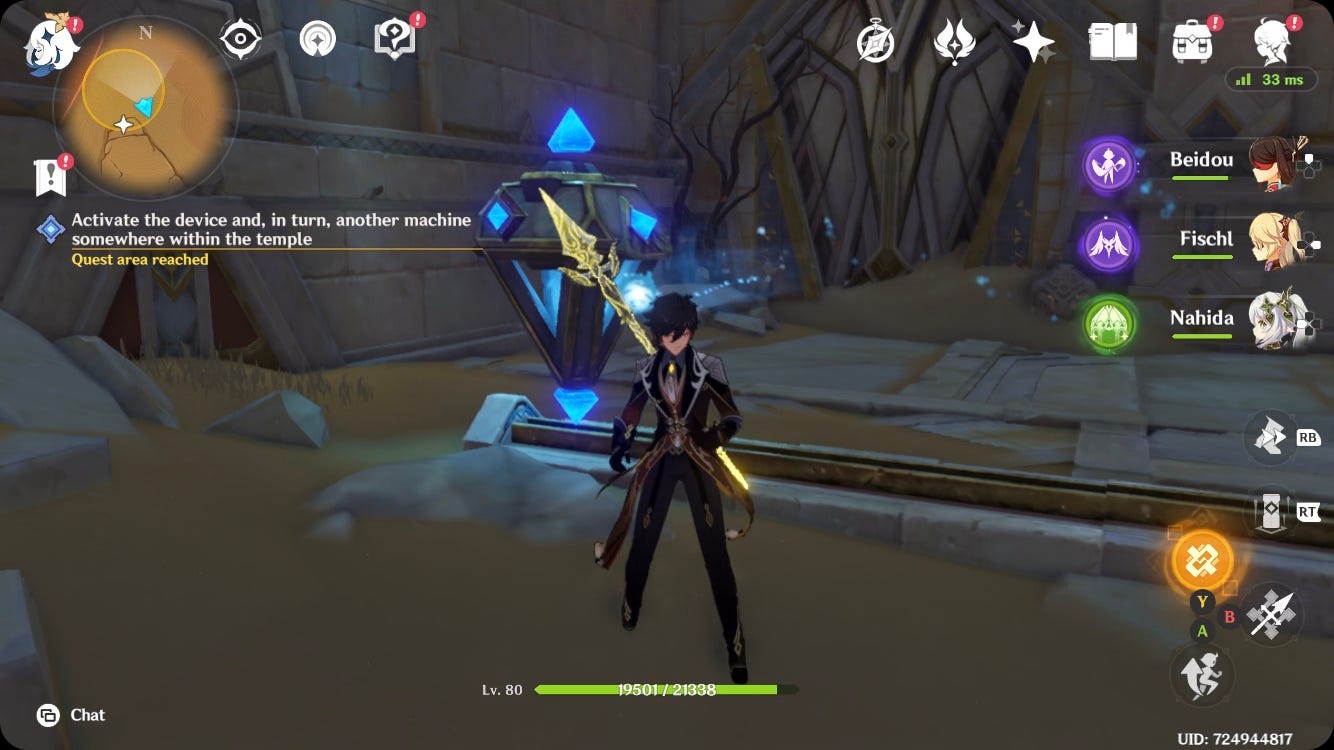
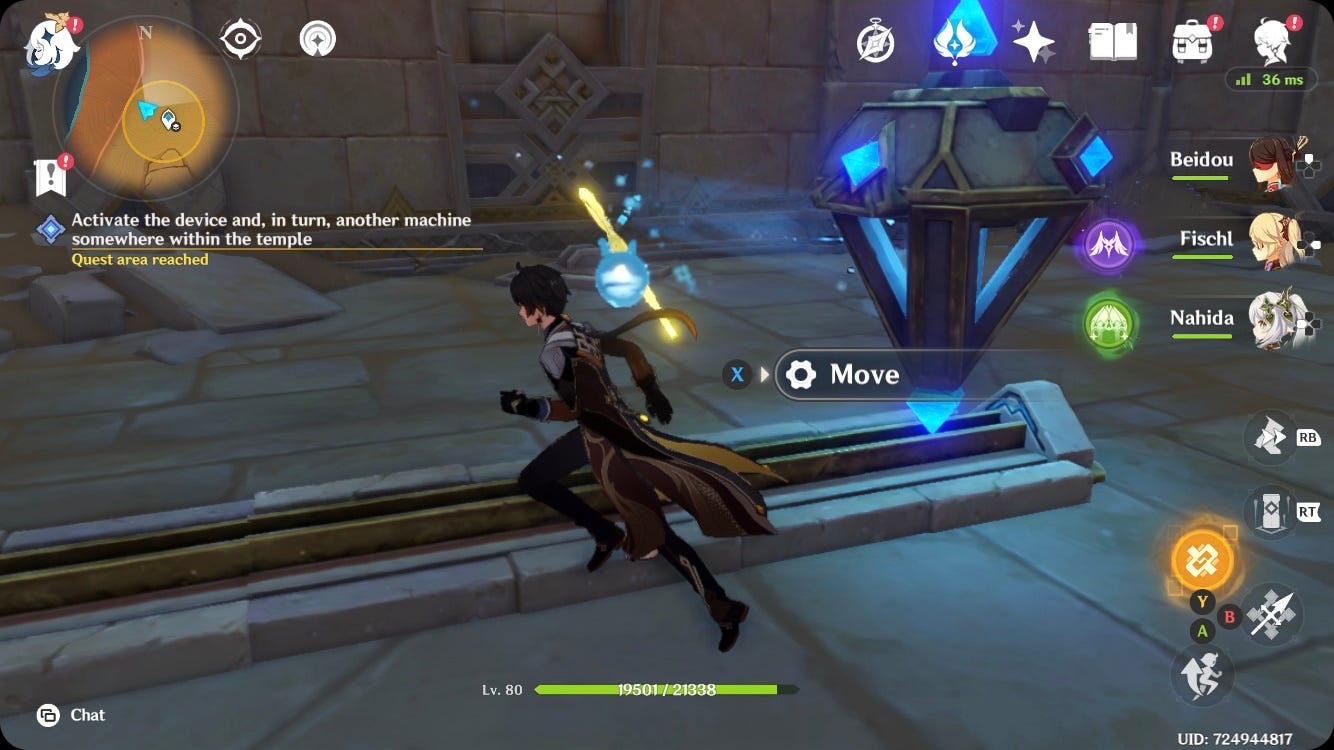
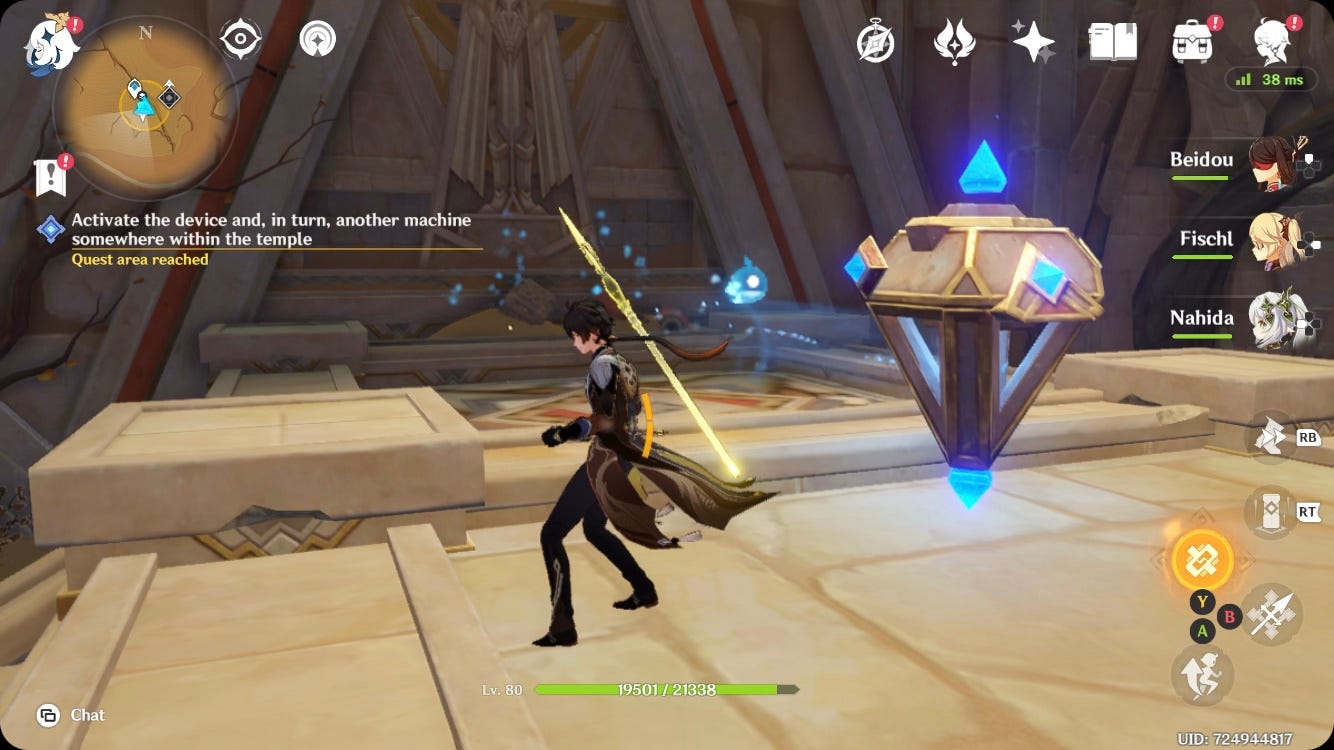
Follow the quest marker into the temple, where you'll now be introduced to Large Rune Mechanisms. These are the exact same as normal Rune Mechanisms, except they are a lot bigger and produce a bigger line of energy.
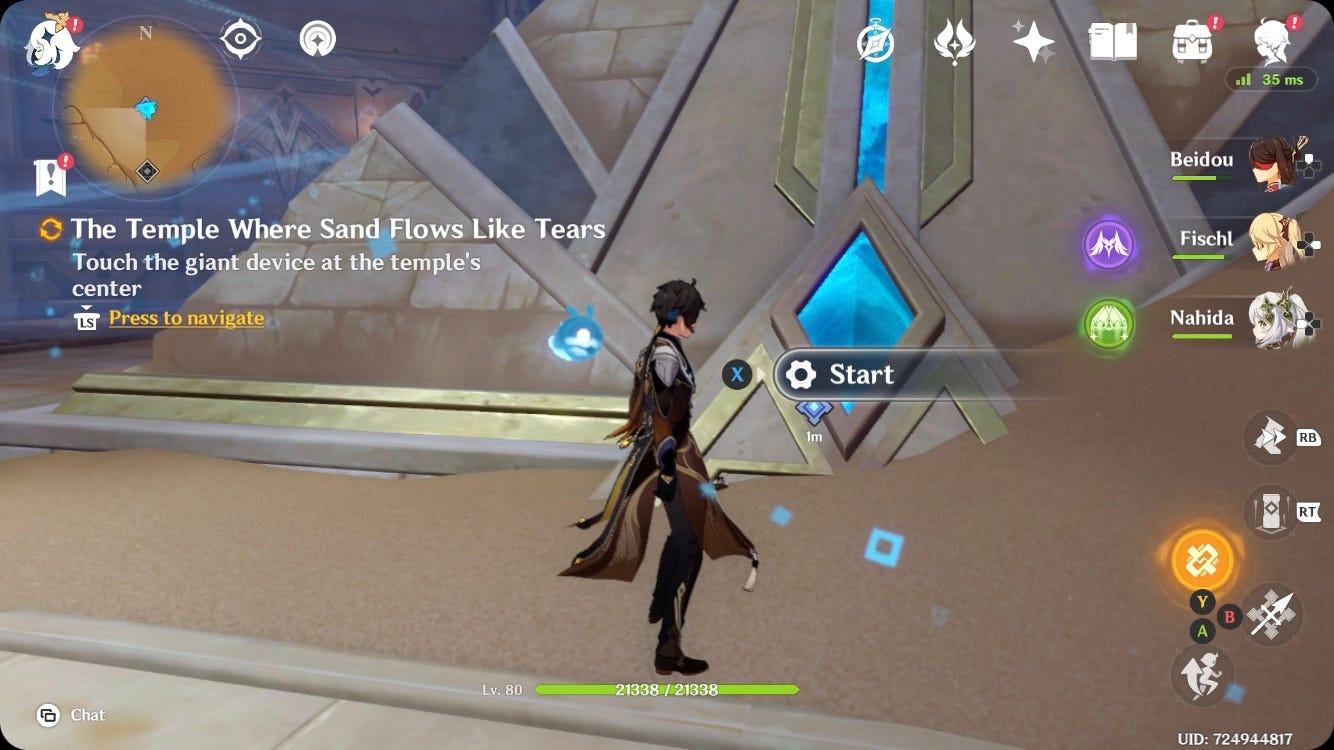
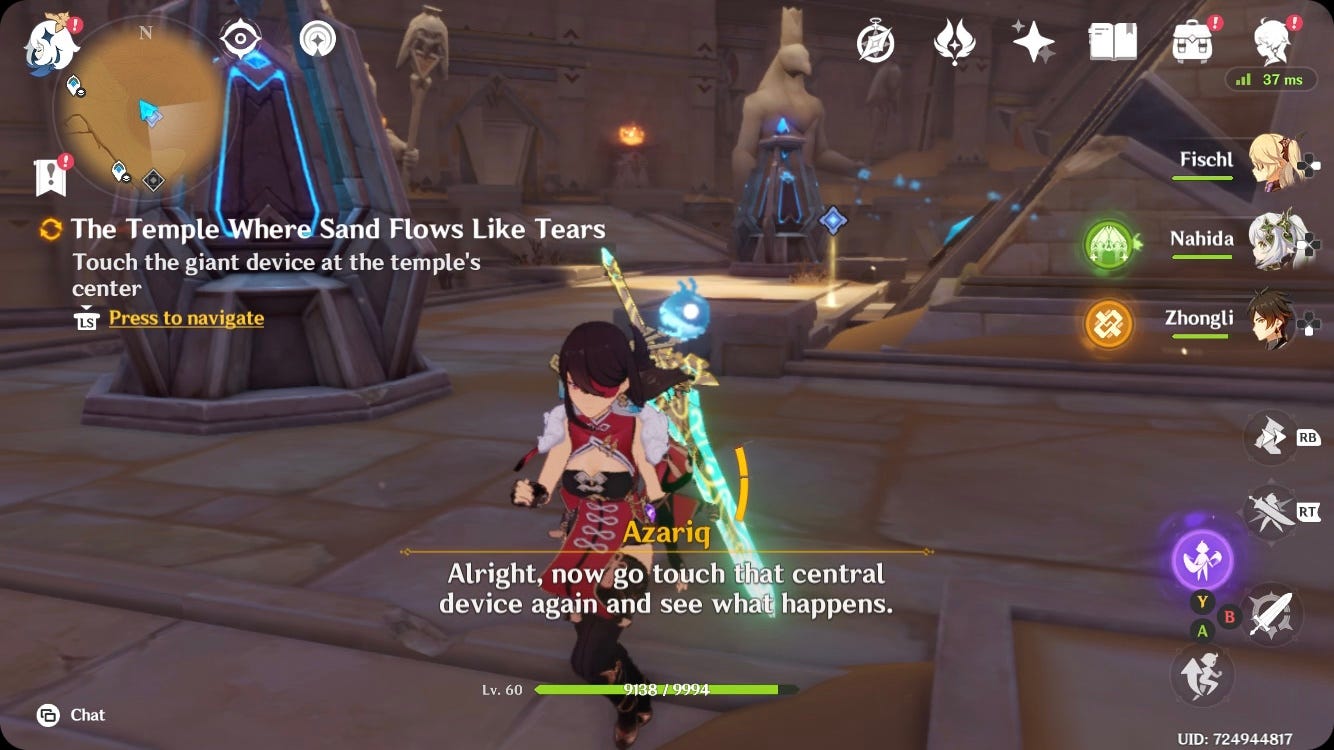
After pressing 'Start' on the blue triangular device and touching the giant device in the centre of the temple, hit the blue-glowing Large Rune Mechanism so it's pointing towards the quest marker. This will get rid of the sand on top of the cube device, letting you use it to open the gate forward.
Genshin Impact Temple Where Sand Flows Like Tears walkthrough for second chamber puzzles
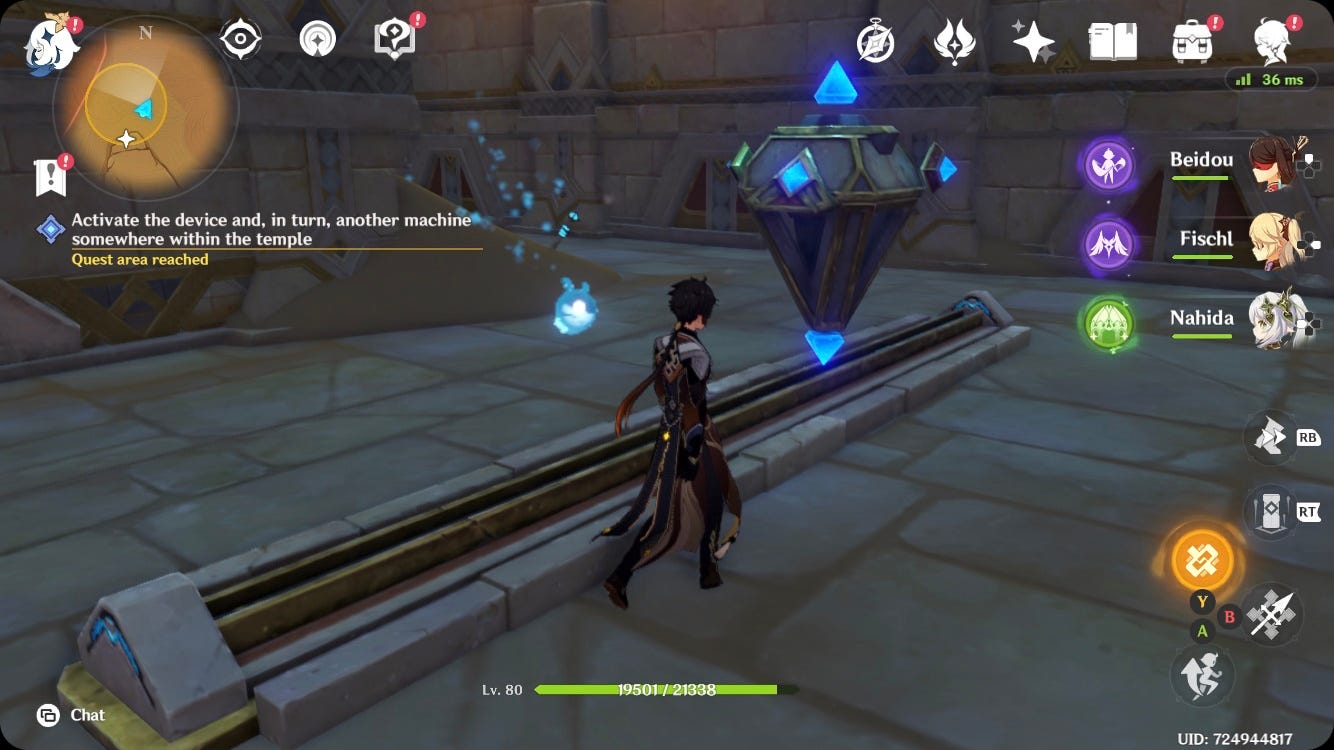
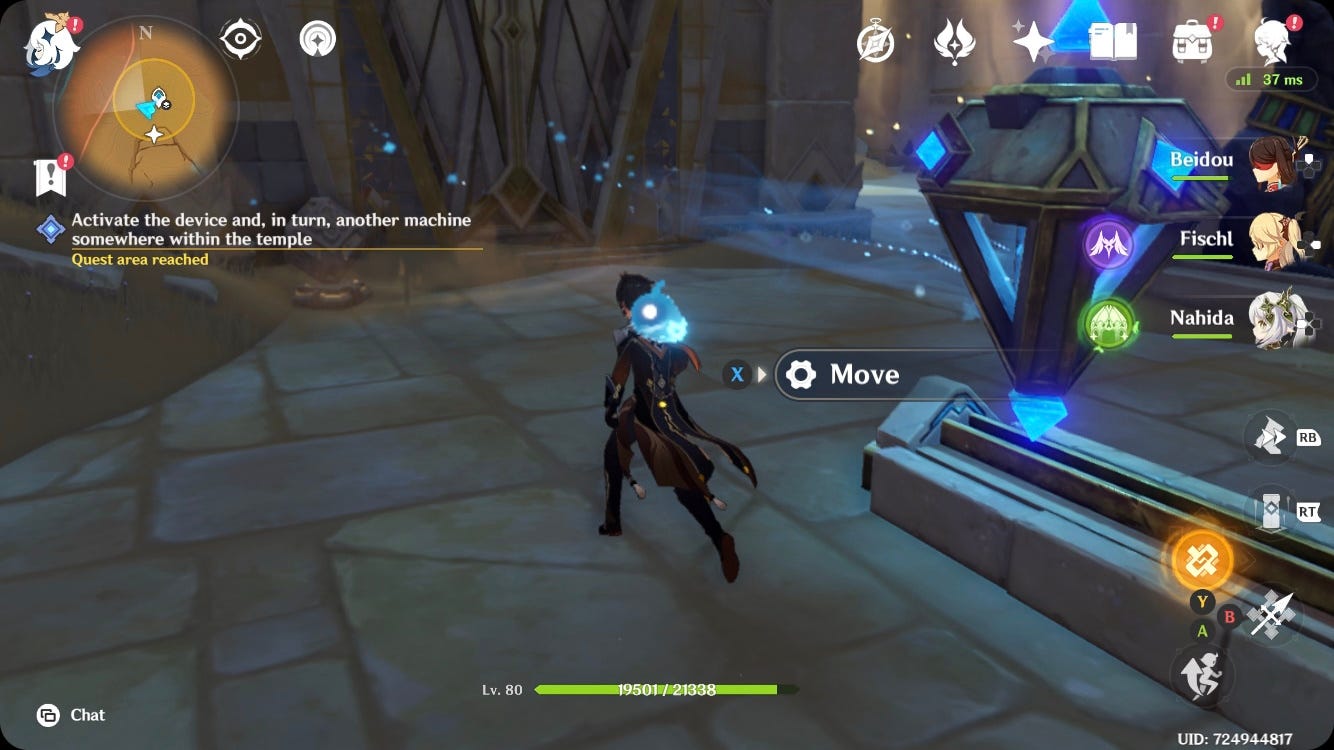
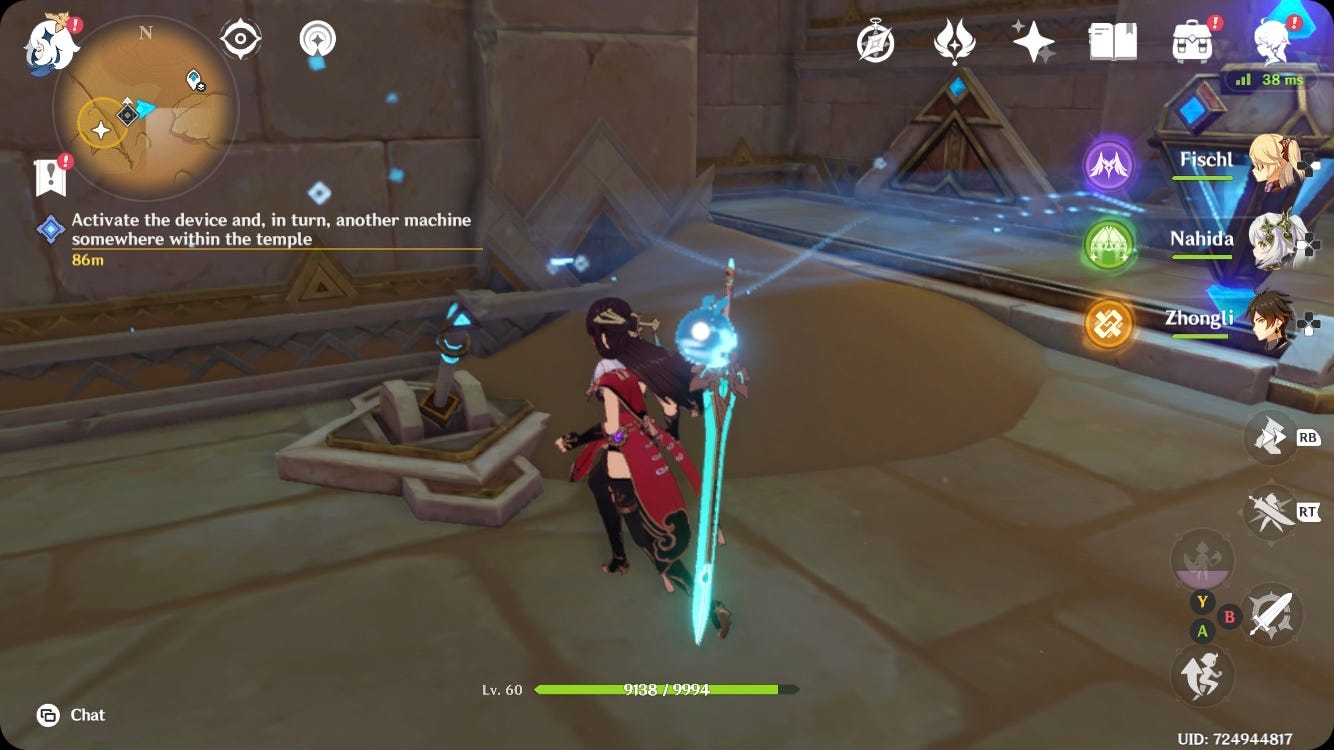
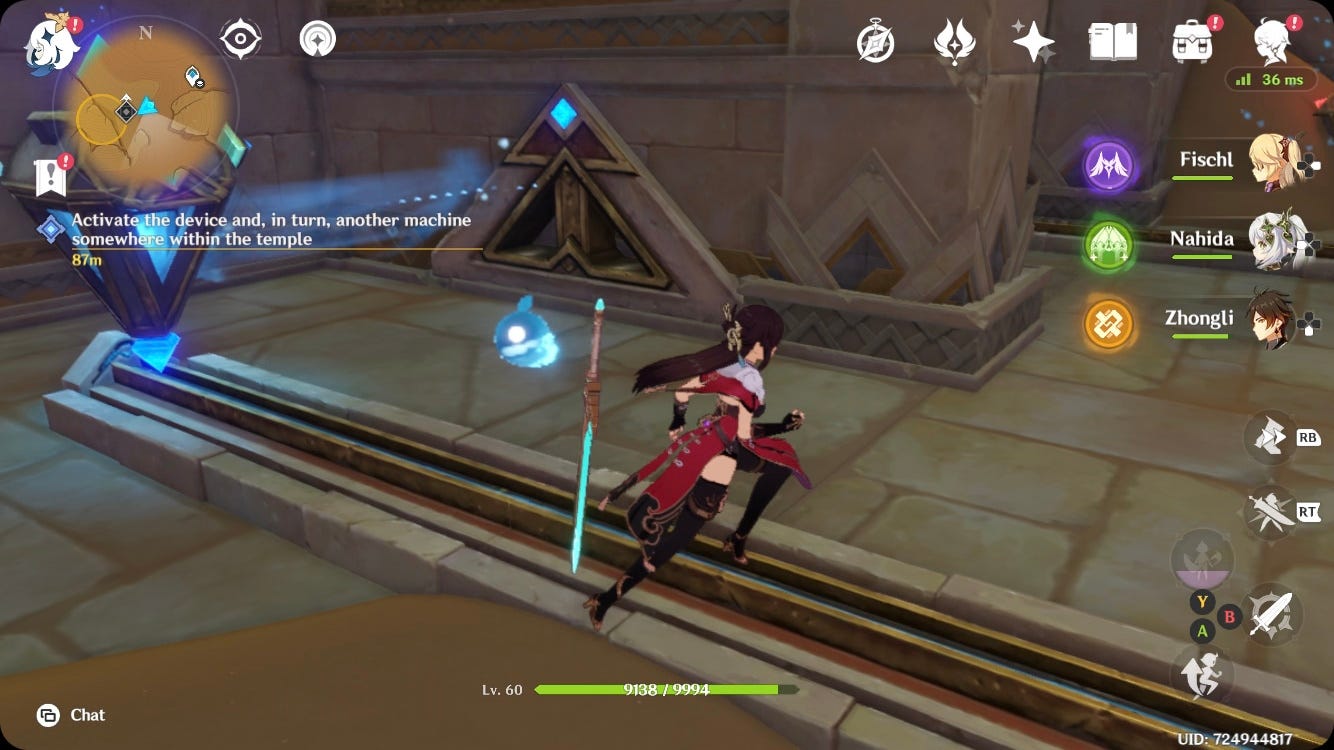
Your next objective unhelpfully asks you to 'Activate the device and, in turn, another machine somewhere within the temple'. Basically, you're going to have to now use two devices to solve the puzzles within this temple: Rune Mechanisms and the Runic Window and Runic Pane Switches.
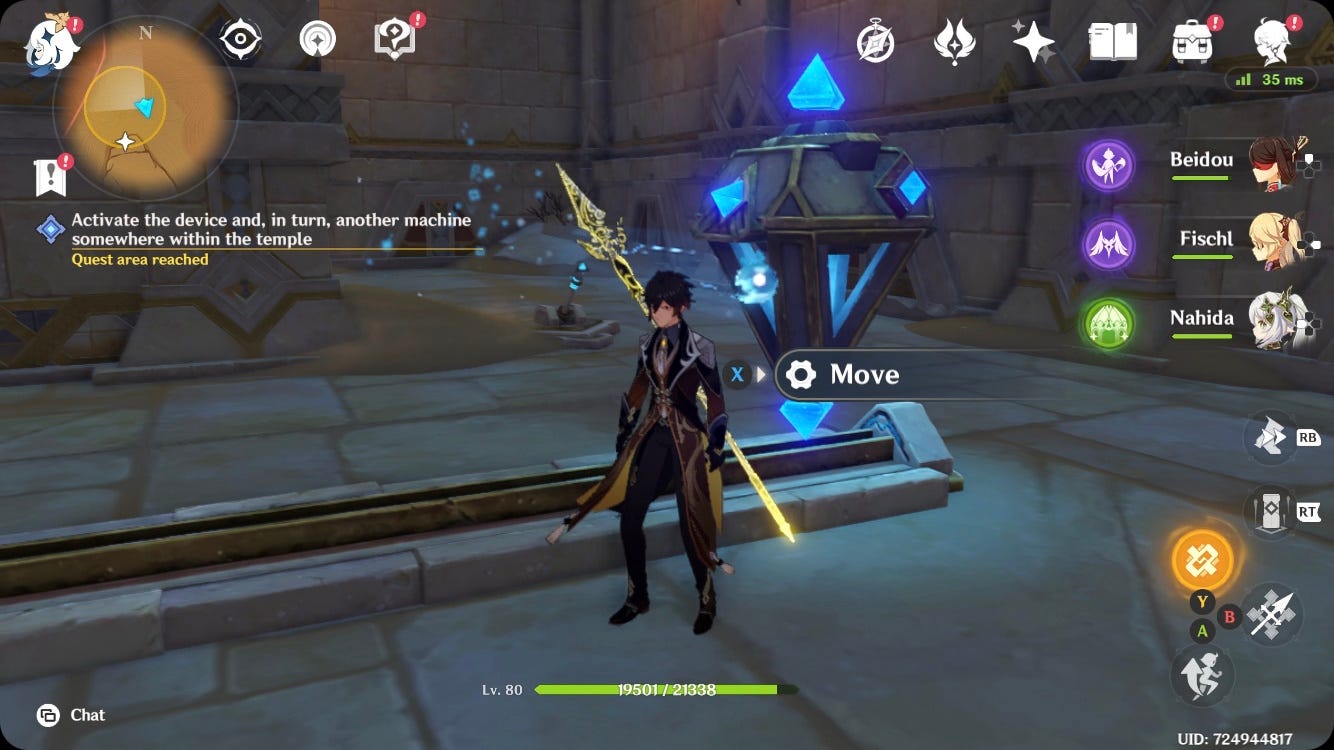
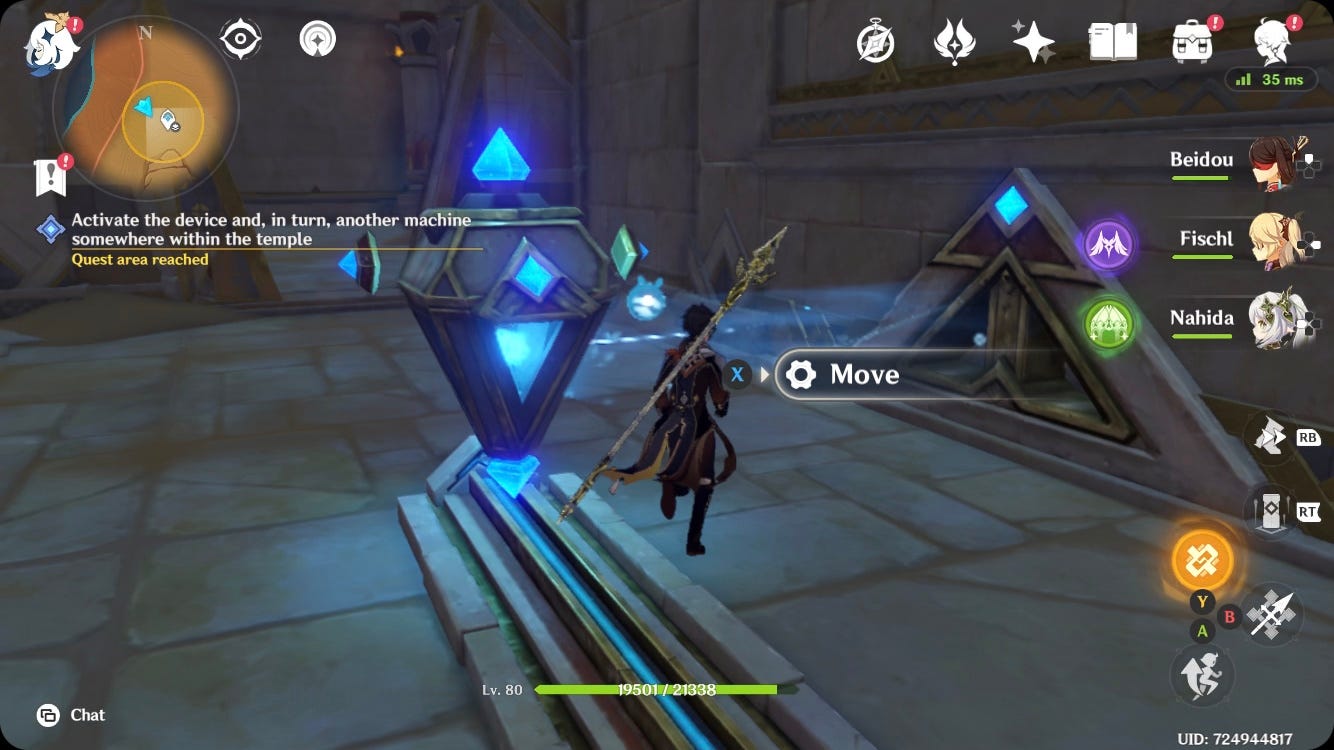
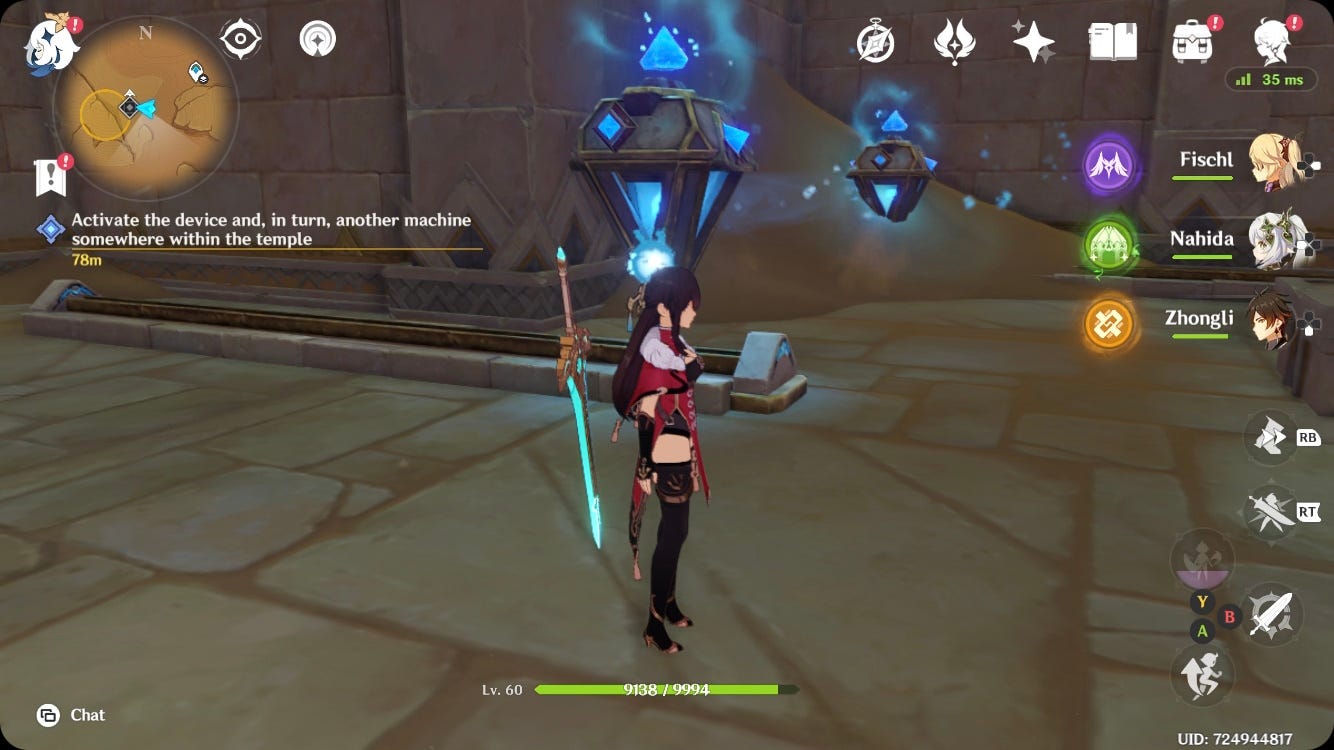
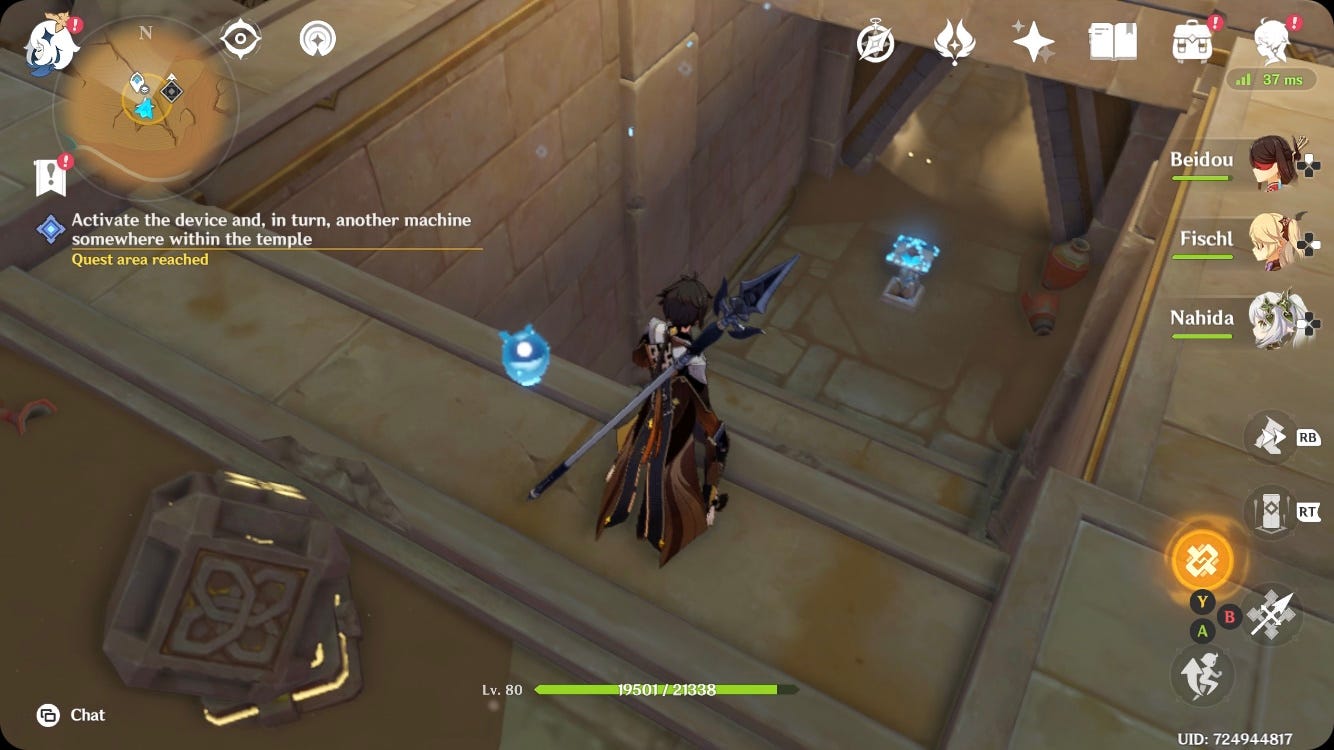
Activating a Runic Pane Switch (the levers on the floor) will open a Runic Window (the triangles on walls), letting the energy line from a Rune Mechanism pass through it. Do this for the first pane switch and Rune Mechanism you come across in the second chamber.
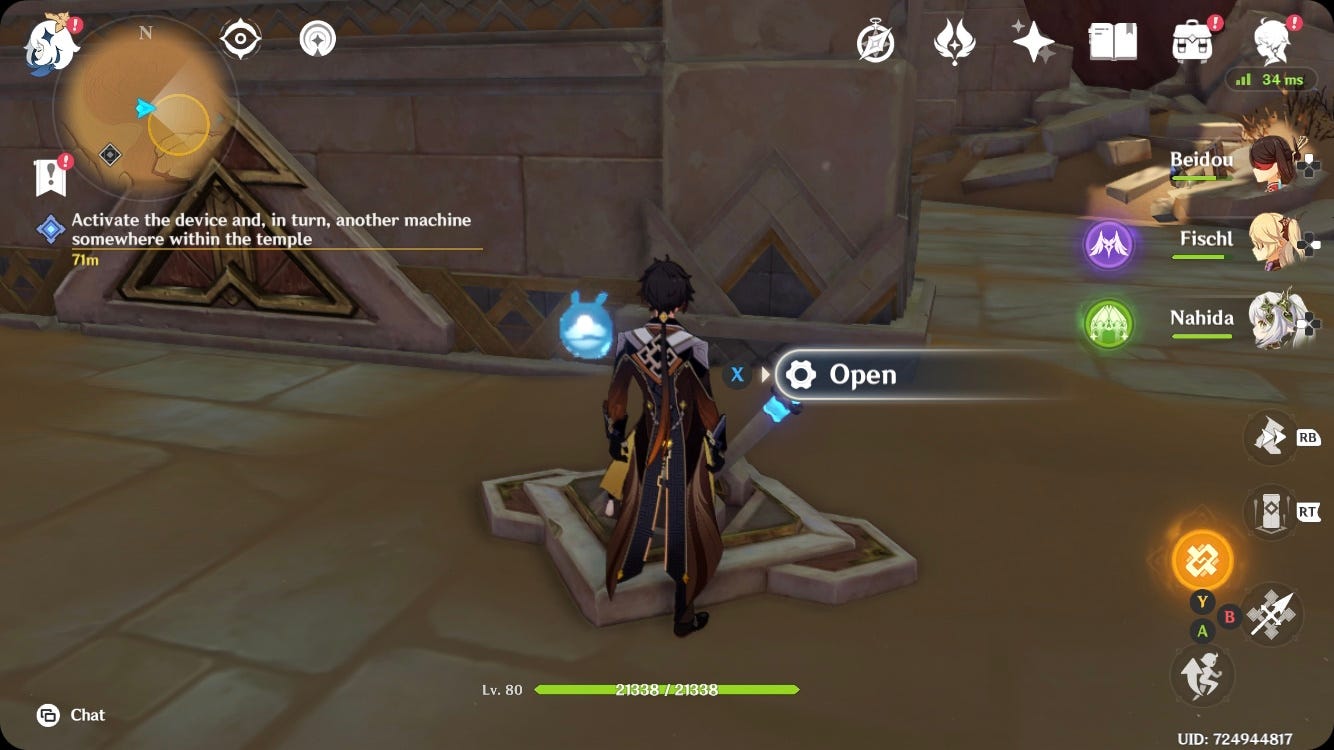
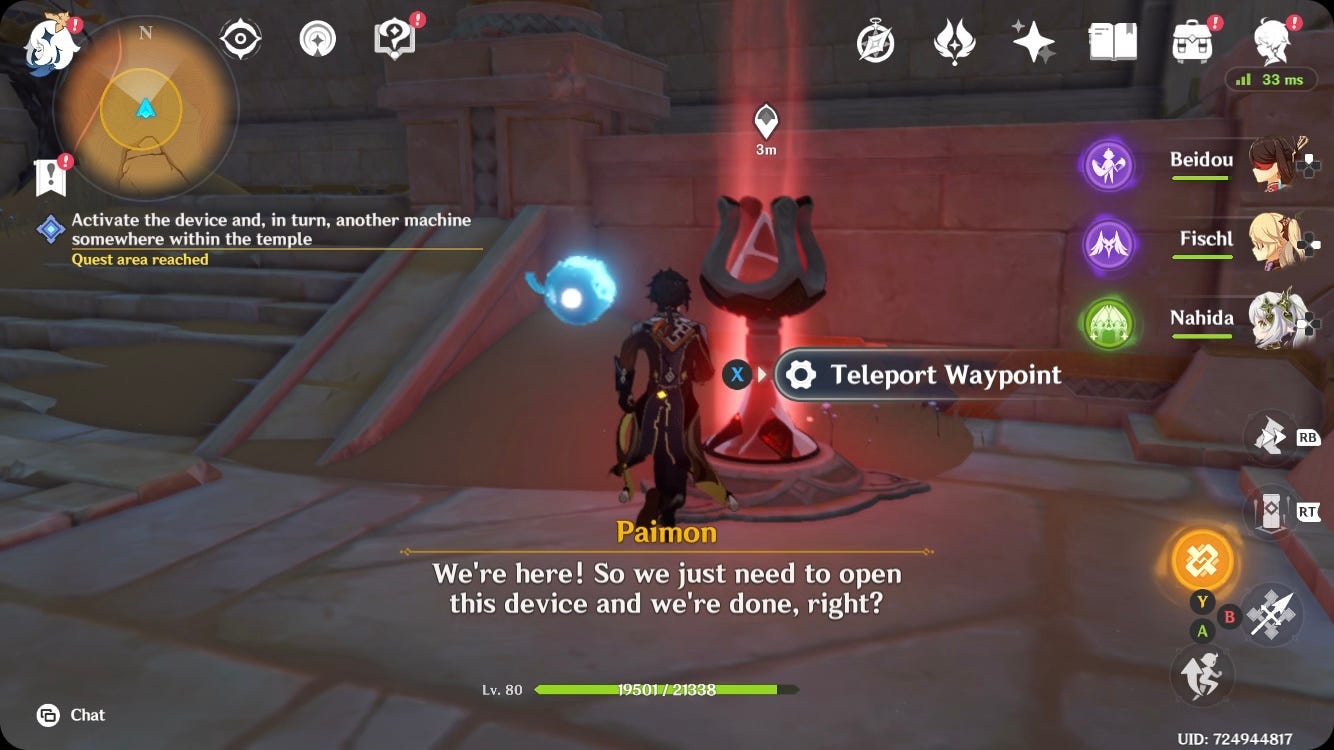
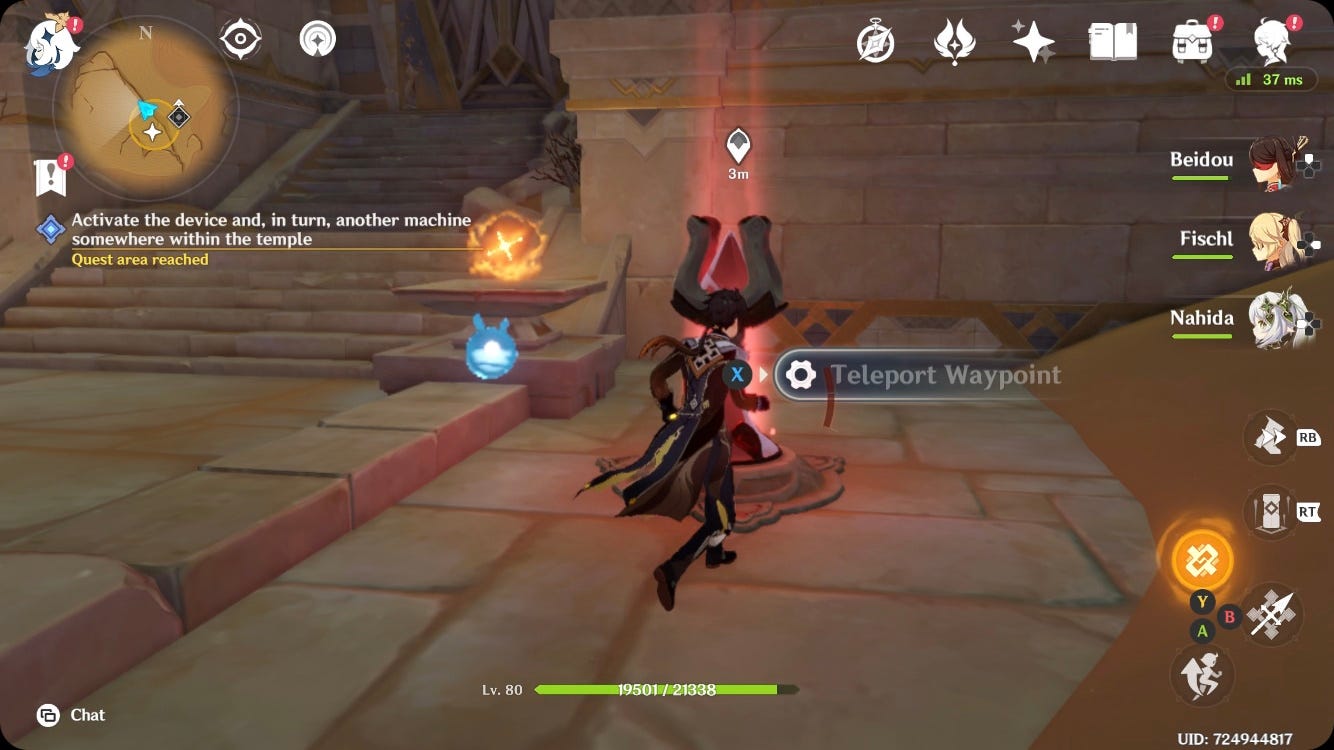
Open the common chest, defeat the enemies, then press 'Start' on the cube switch to enter the room with the Teleport Waypoint - which you should activate.
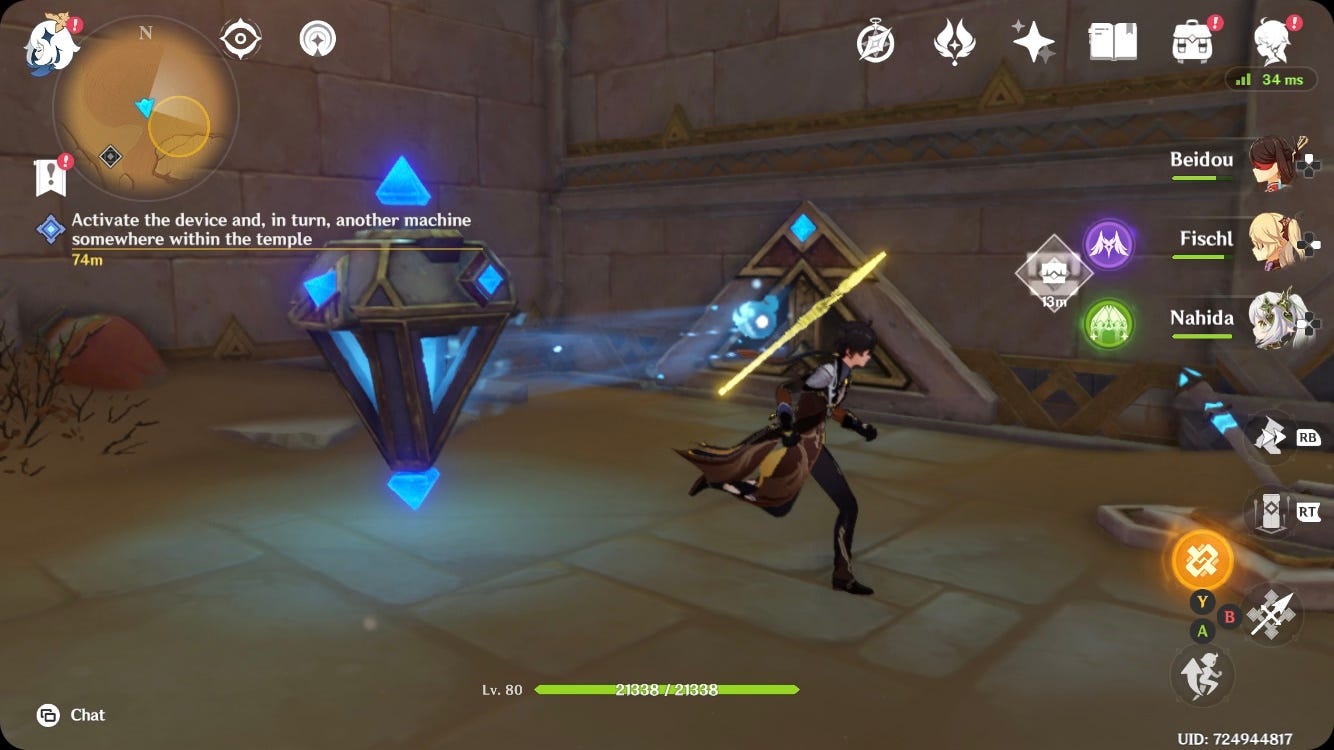
Go up the stairs on the right. The solution to this puzzle is:
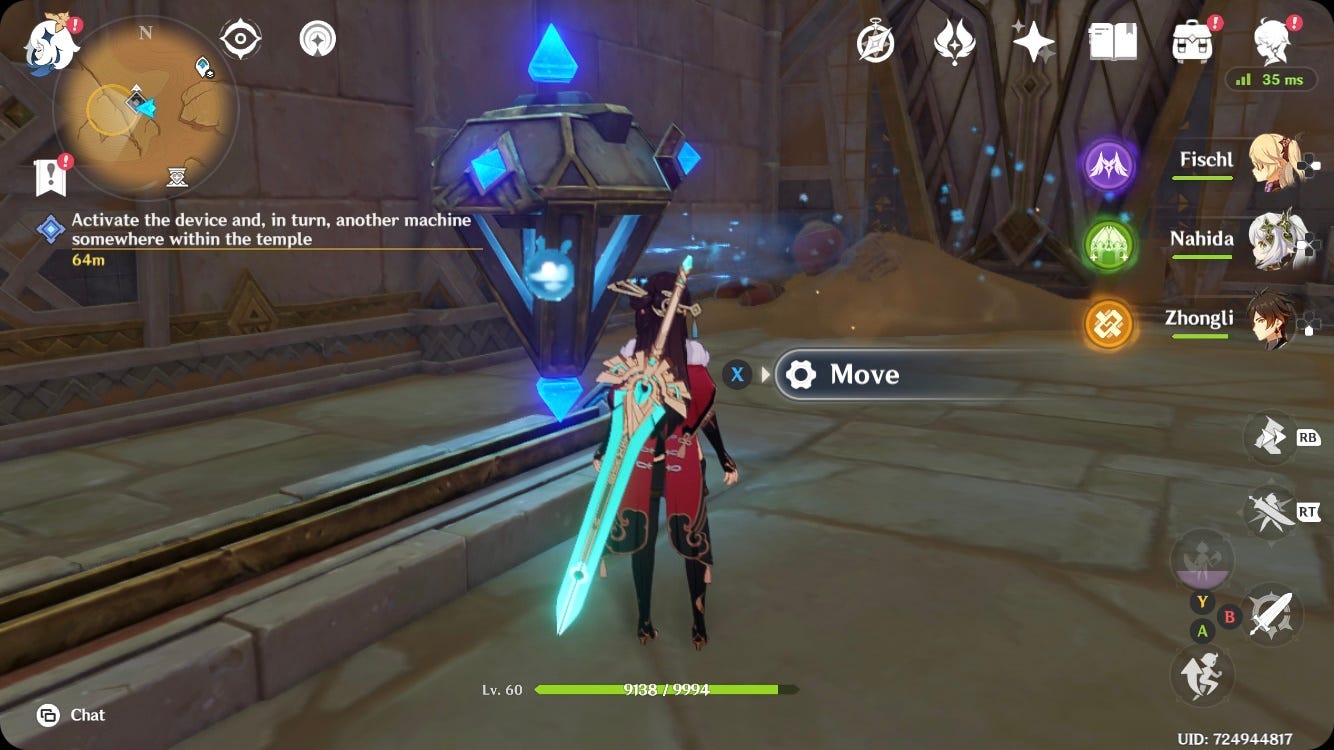
- Hit the Rune Mechanism until it points towards the sand pile with the lever below it
- Press the unearthed lever to open the Runic Window
- Hit the Rune Mechanism again until the beam on energy is pointed towards the Runic Window
Go back and up the stairs on the left, hit the Rune Mechanism until it points towards the gate, then press the unearthed cube switch to open the gate.
Start the blue triangular device in the middle of the next room, then press the cube switch in the corridot to exit.
You can fight the Consecrated Red Vulture enemy in this next room to unlock a Precious Chest, but it's not required to continue.
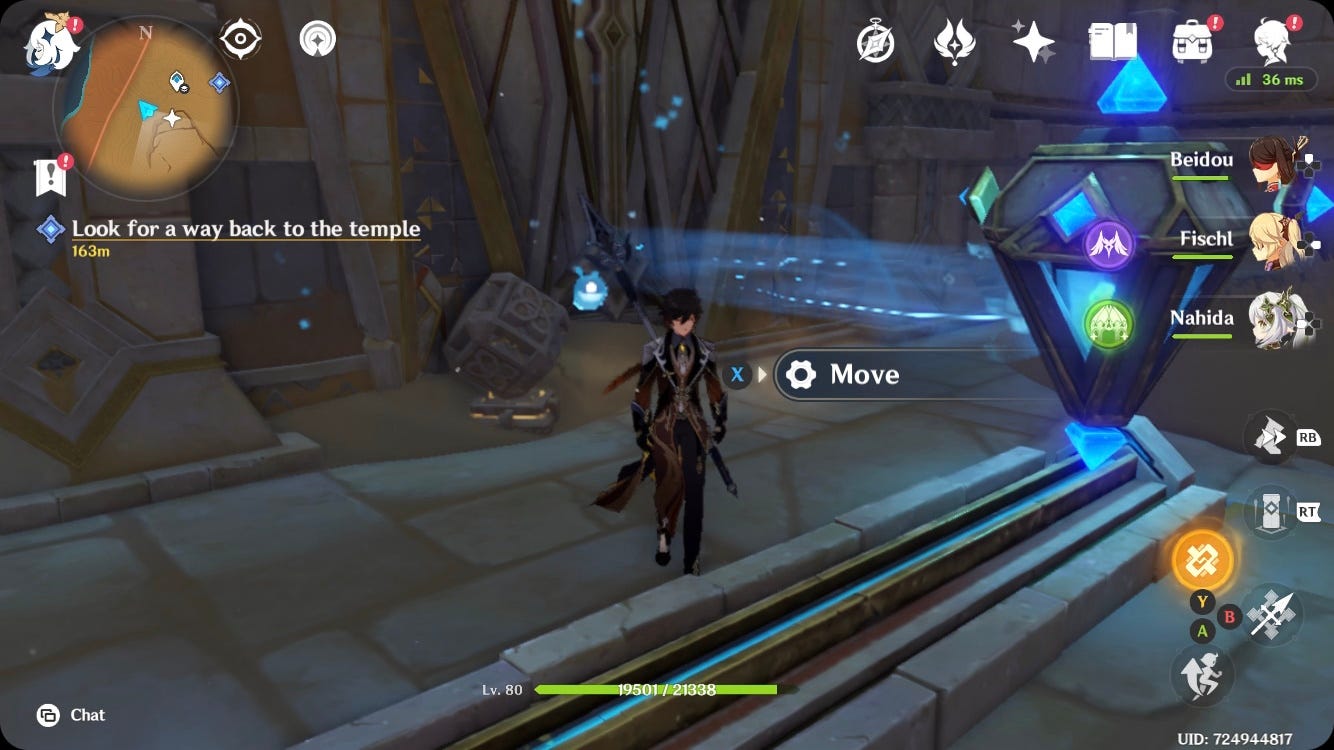
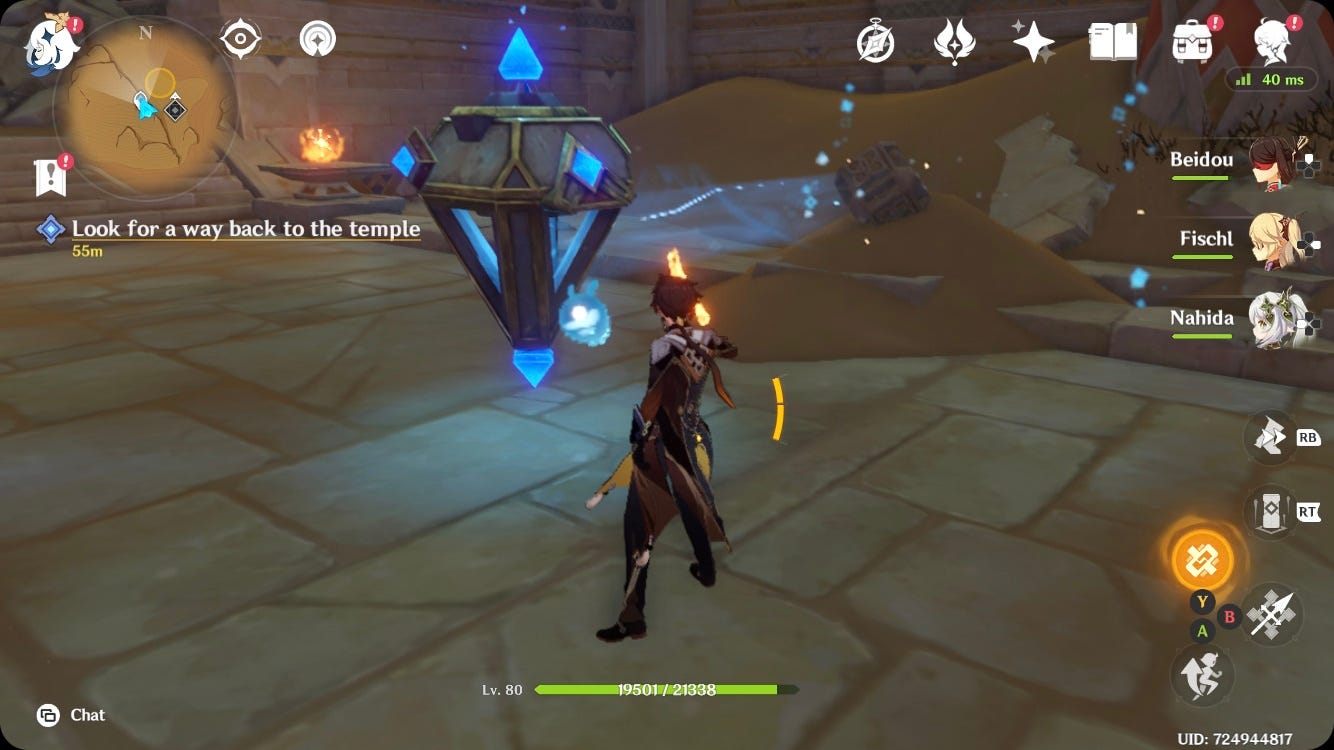
Follow the quest marker down the hole in the middle of the room, where you'll break your landing in a pool of water.
Keep following the marker and you'll eventually come across another new puzzle type, the Weathered Obelisk. Solving these puzzles isn't required to complete the Temple Where Sand Flows Like Tears quest, but you can get chests for doing so.
If you want to solve this Wethered Obelisk, go up the stairs and take note of the three stone symbols at the top, then go back to the Obelisks you first came across and hit them until they match up to the symbols you found at the top of the stairs.
We called the correct three Wethered Obelisk symbols:
- Trees - left Wethered Obelisk
- Snake - middle Wethered Obelisk
- Three dots - right Wethered Obelisk
You'll get a common chest for solving this first Obelisk puzzle.
To continue with the quest, go back to the stairs and keep climbing them. Kill the enemies ahead, open the chest, then go forward to progress with exploring the temple.
You'll eventually come across another Rune Mechanism. Hit it until the beam of energy is pointed towards the cube mechanism under sand, then activate the cube mechanism. You'll find yourself back in the middle of the temple.
After the cutscene ends, hit the newly blue-glowing Large Rune Mechanism until its beam of light is pointed towards the little pyramid in the middle, scattering the dust around the sealing machine.
After you've scattered the dust, hit the same Large Rune Mechanism until its beam of light is pointed towards the gate behind it, clearing the sand off the cube mechanism. Start the cube to open the gate into the next room.
Genshin Impact Temple Where Sand Flows Like Tears walkthrough for third chamber puzzles
You'll now be on your way to look for the button that activates the third Large Rune Mechanism!
First up in this chamber is a Rune Mechanism that you have to move forward first before hitting it until the beam of light points towards the cube mechanism below the sand. When unearthed, start the cube to open the gate and enter the next corridor.

For this room, you have to:
- Move the Rune Device
- Hit it until its beam of light points towards the lever under the sand pile
- Press the lever, opening the Runic Window
- Move the Rune Device back
This will get you a common chest as well as clearing the sand off the cube mechanism.
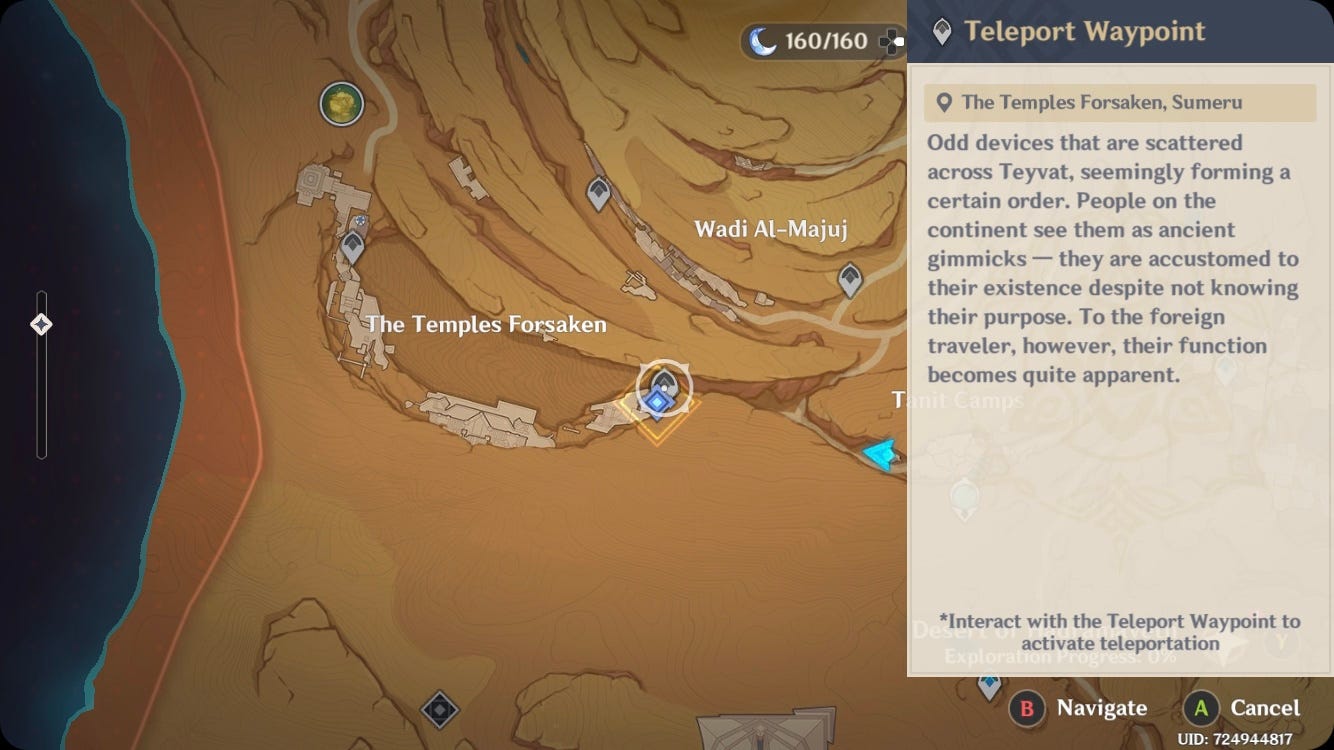
Press the cube and then go through the gate to the next room with a Teleport Waypoint - which you should activate.
The puzzle ahead is the exact same as the previous one that activated the second Large Rune Mechanism, only this time you have to move the Rune Mechanisms before hitting them.
Just like before, go up the stairs on the right first. To solve this puzzle, you have to:
- Move the Rune Mechanism
- Hit the Rune Mechanism until its energy beam is pointed towards the lever under the sand
- Press the lever
- Hit the Rune Mechanism again until its pointed towards the triangular Runic Window
Next, go up the stairs on the left, move the Rune Mechanism, hit it until its beam of light is pointed towards the cube mechanism, then press the cube to open the gate.
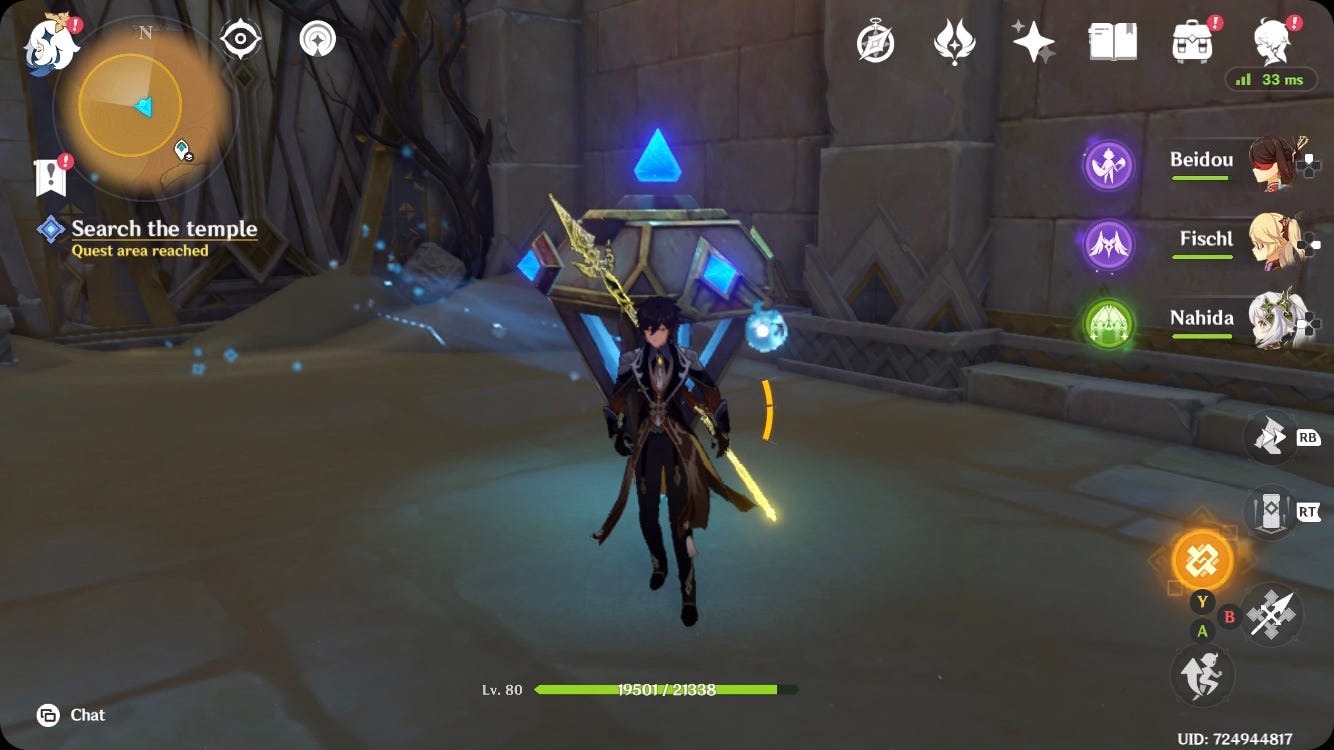
Go into the next part of the room and press 'Start' on the blue triangular device in the middle to activate the third Large Rune Mechanism in the middle of the temple.

Press the nearby cube, then move the next Rune Mechanism and hit it until its beam of light points towards a cube under sand to clear it and start your way back to the centre of the temple.
Follow the marker back to the centre, killing any enemies you come across, then hit the newly activated third Large Rune Mechanism until it's pointed towards the little pyramid in the middle.
Once you've cleared the sand with the third Large Rune Device, hit it again until its beam of energy is pointed towards the door behind it to clear the sand off the cube. Press the cube to open the gate and go through to the last puzzle chamber of the Temple Where Sand Flows Like Tears quest.
Genshin Impact Temple Where Sand Flows Like Tears walkthrough for fourth chamber puzzles
Defeat the enemies in the first room of this last chamber, then move the Rune Mechanism and hit it until its beam of energy is pointing towards the cube under the sand. Press the cube to open the gate into the next room.

Defeat the enemies then solve the Rune Mechanism puzzle by:
- Hitting the Rune Mechanism to unearth the lever
- Press the lever
- Move the Rune Mechanism
- Hit the Rune Mechanism until its beam of light it pointed towards the triangular Runic Window
- Move the second Rune Mechanism and hit it until its beam of light is pointed towards the red Rune Mechanism under sand
- Move the third Rune Mechanism and hit it until its beam of light is pointed towards the gate
You can now press the cube switch to open the gate into the next room with a Teleport Waypoint - which you should activate.
Next, go up the stairs and hit the Rune Mechanism until its beam of energy is pointed towards the cube under sand. Activate the cube to get rid of the ground behind you, then jump down and start the blue triangular device that will activate the fourth and last Large Rune Mechanism in the middle of the temple.
Go back to the bottom of the stairs and hit the Rune Mechanism until its pointed towards the cube under the sand, then press the cube to open the gate just past the Teleport Waypoint.
Go through the gate, kill the enemy, then move the Rune Mechanism and hit it until it's pointed towards the cube under sand.
Press the cube, then turn left to make your way back to the middle of the temple.
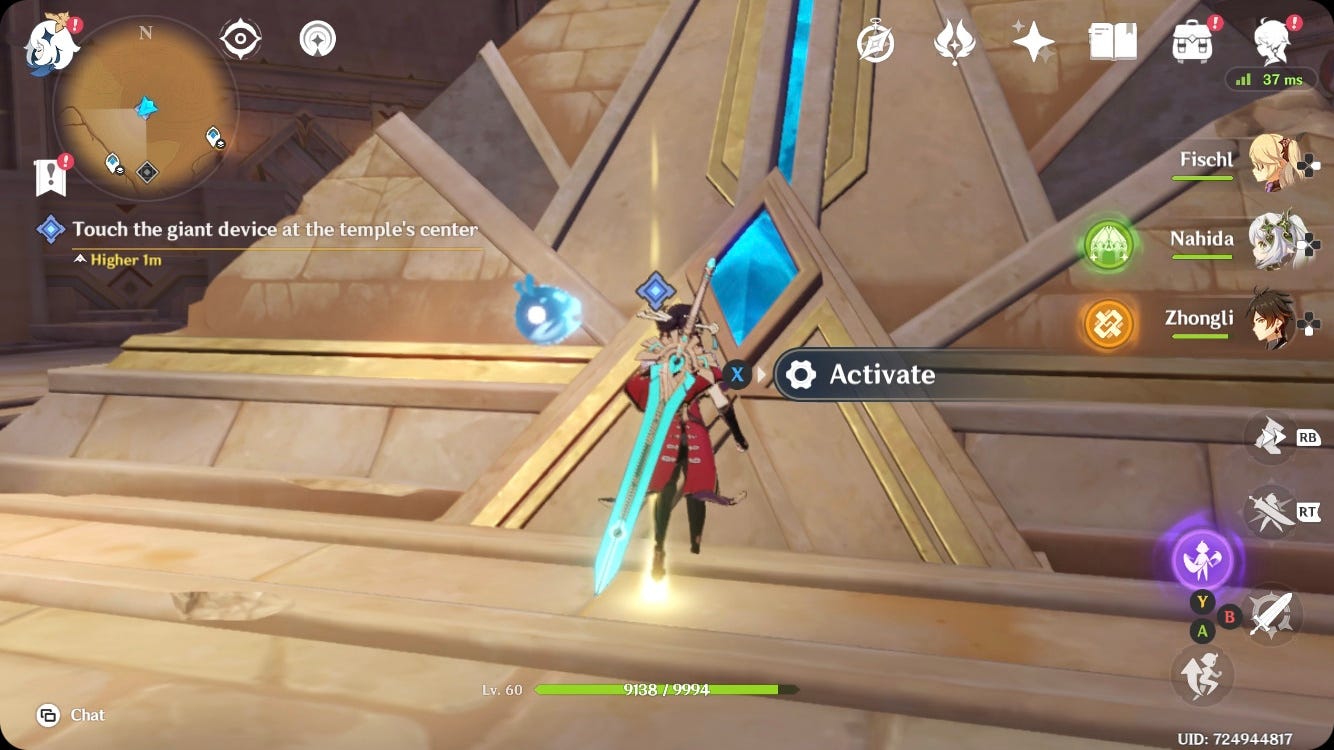
Follow the quest marker to the fourth and last Large Rune Mechanism, then hit it until its beam of light is pointed towards the little pyramid in the centre of the room to scatter the dust around the sealing machine. To end your time in Temple Where Sand Flows Like Tears, touch the giant device at the temple's centre.
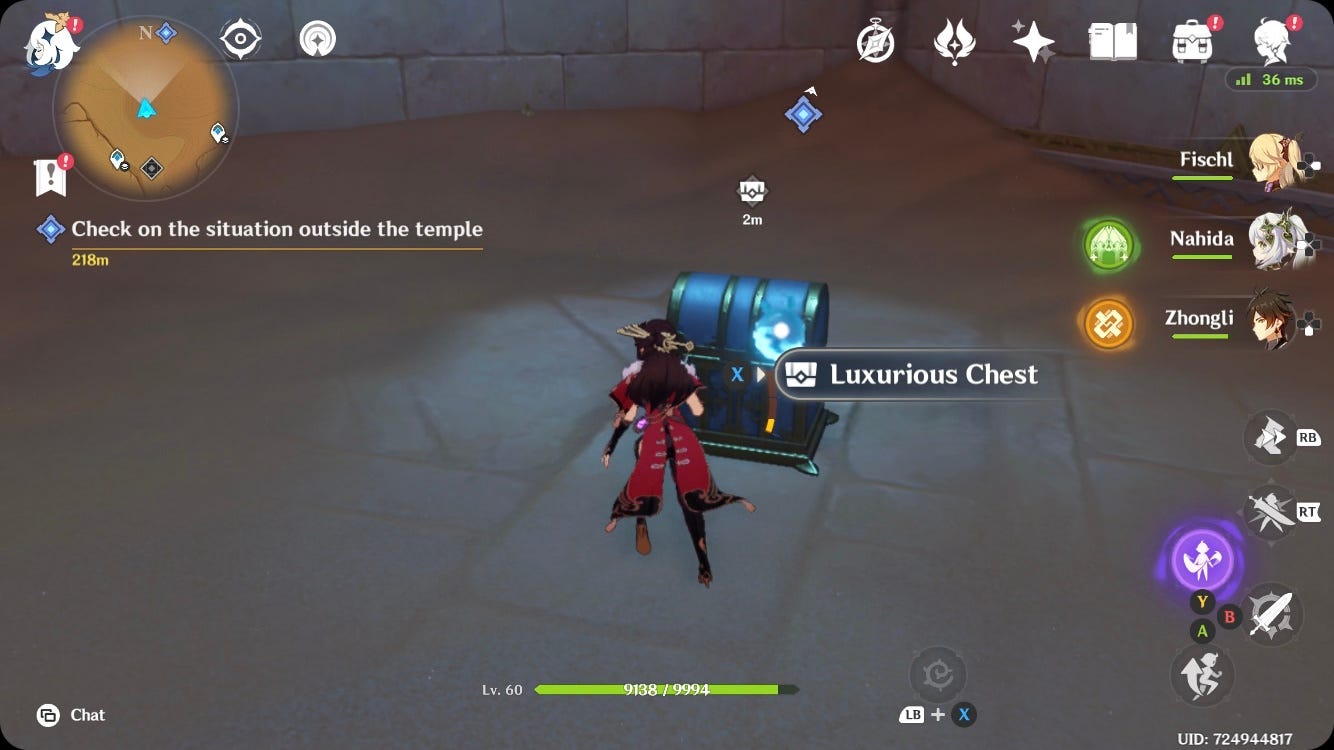
Before you leave to check on the situation outside, glide down to the now accessible centre of the temple to open a Luxurious Chest.
The 3.7 livestream will provide details of new Banners and events, for now, Version 3.6 is live and introduces new character Baizhu, Plumes of Purifying Light for the Amrita Pool, and Udumbara for the 'Pale Fire' quest. Redeem those new codes and Prime Gaming rewards for Primogems if you want new characters - and check them out on our tier list. For help upgrading Nahida and Nilou, here's locations for Kalpalata Lotus, and Padisarah. You'll need luck from the Pity and 50/50 systems to Wish with Fate for them and future Banners, and you always need the right Adventure Rank for events. Elsewhere, we have tips and tricks for beginners, Dendroculus locations, fishing locations, and TCG card locations.
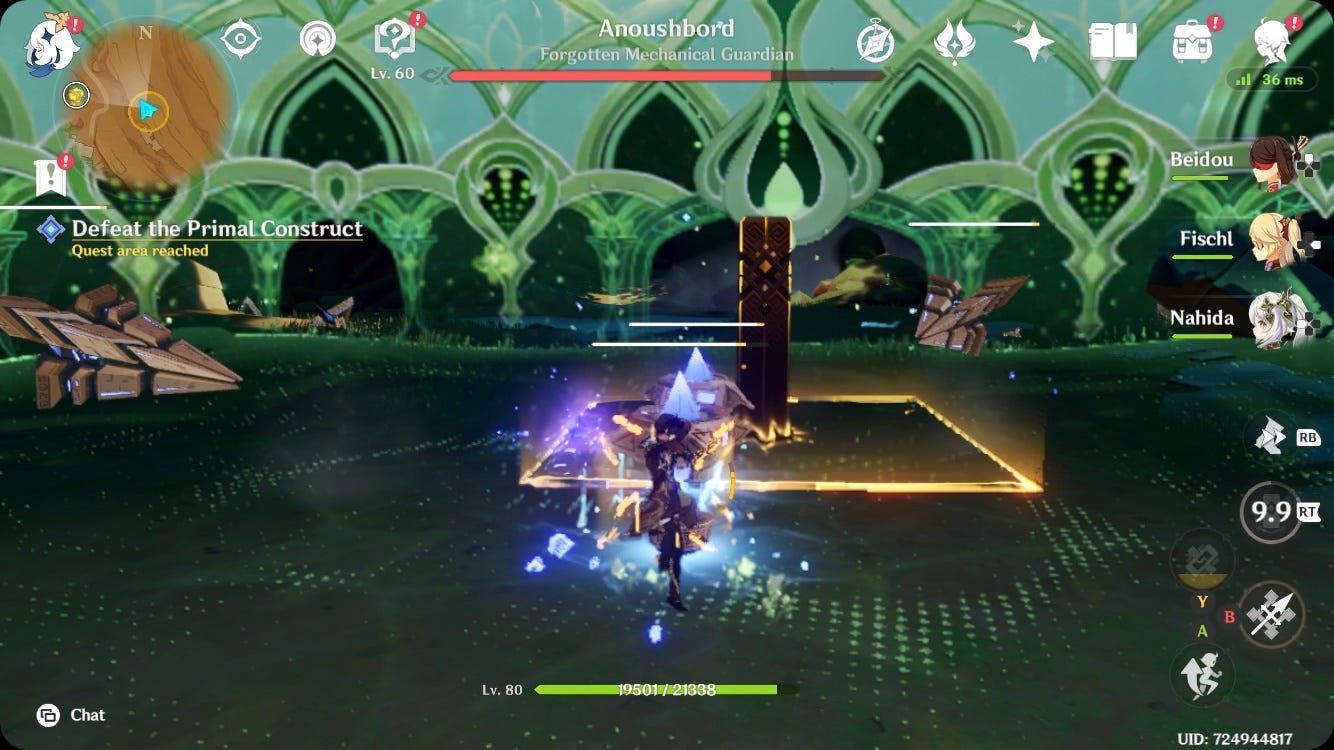
How to defeat Anoushbord for Genshin Impact Temple Where Sand Flows Like Tears quest
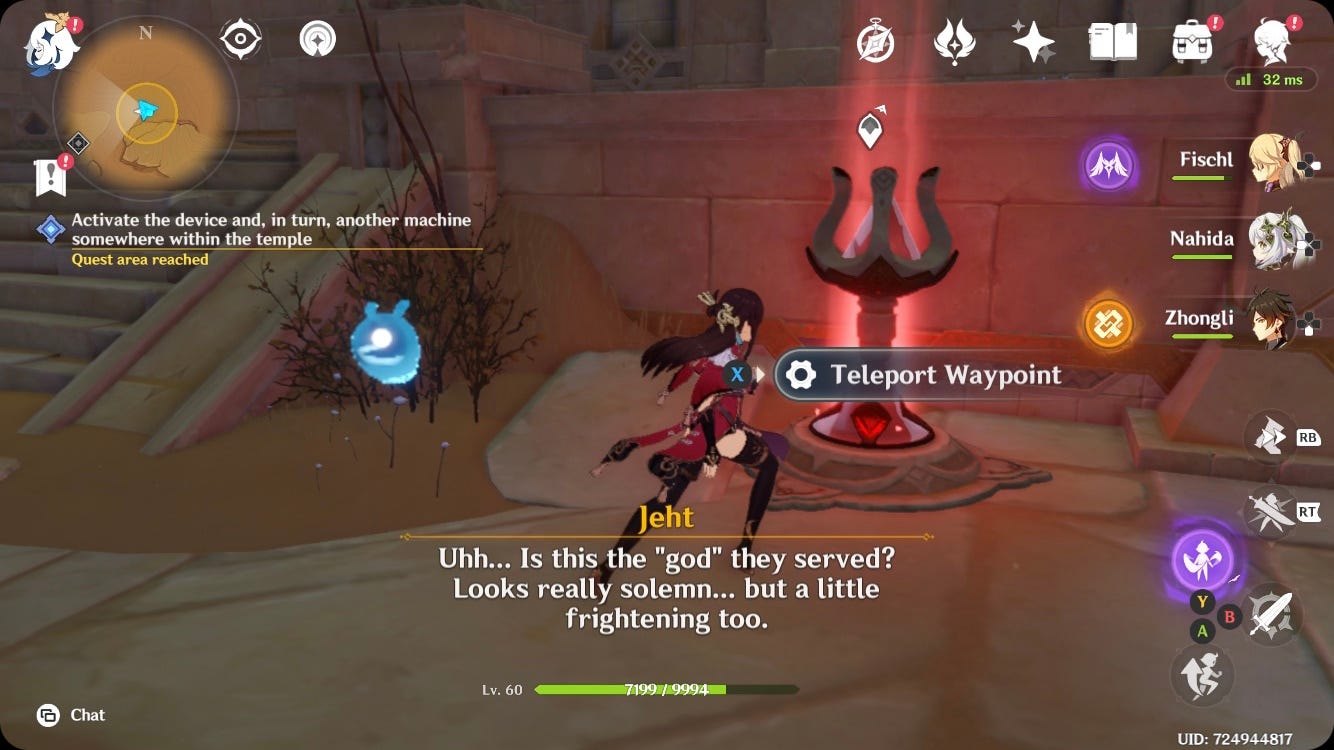
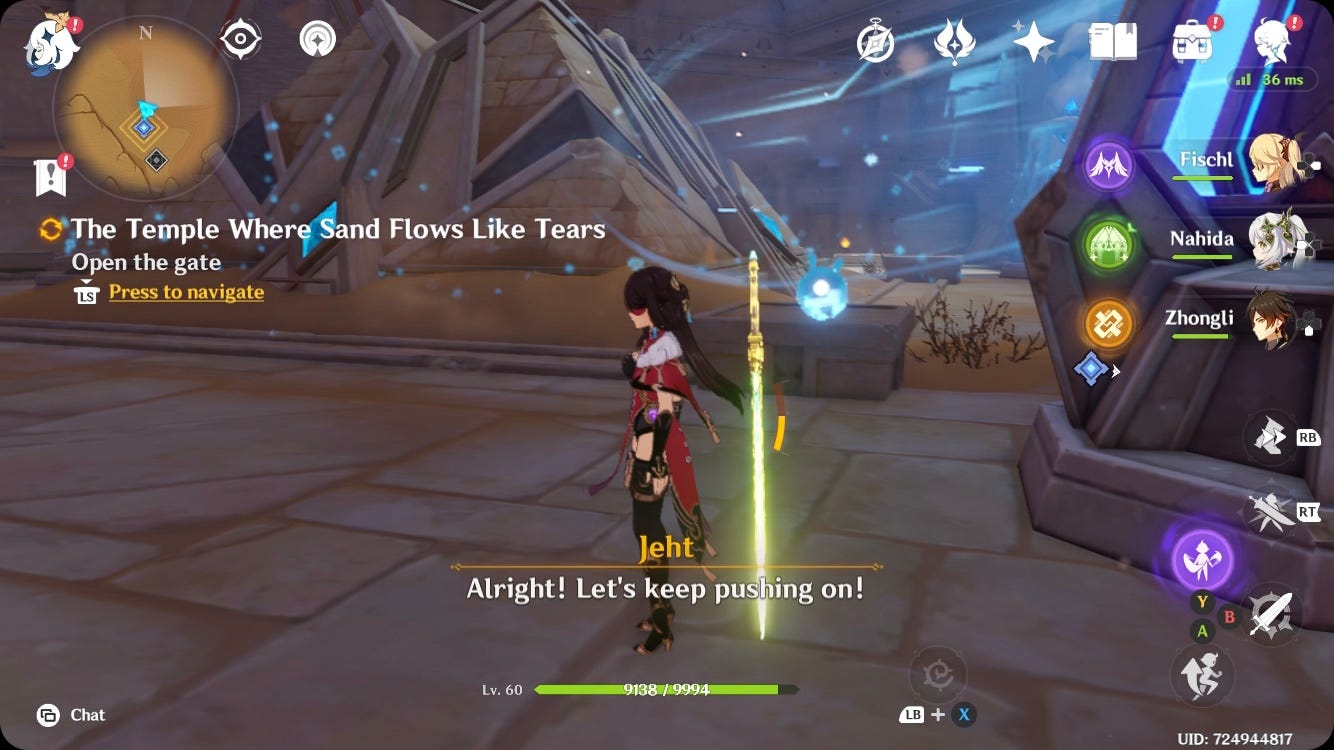
After speaking with Jeht outside the temple, follow the quest marker to the next temple and open its gate by activating the cube. Keep following the quest marker and killing enemies until you get to Liloupar's Cell. Here, another cutscene with Jeht will play, then you'll have to defeat the Anoushbord boss, who is a Primal Construct.
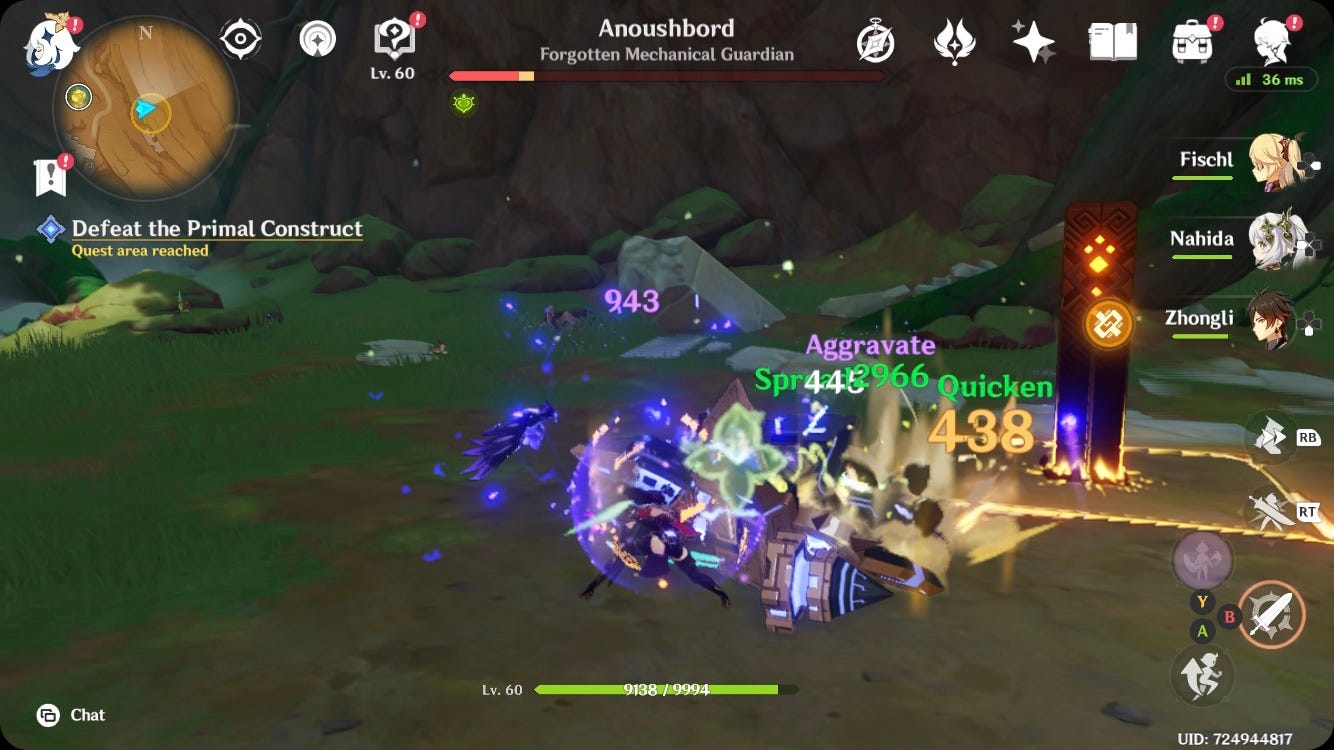
To defeat Anoushbord, you should attack it until two components with crystals spawn.Use your big DPS moves on its components to destroy them quickly and down the Anoushbord.
It won't fight back while it's down, letting you unleash your most powerful moves to quickly lower its health. Catalyze and Electro reactions are the best for damaging Anoushbord, and any similar enemy types. Repeat this until Anoushbord is defeated, then follow the quest marker forward to check the shining object.
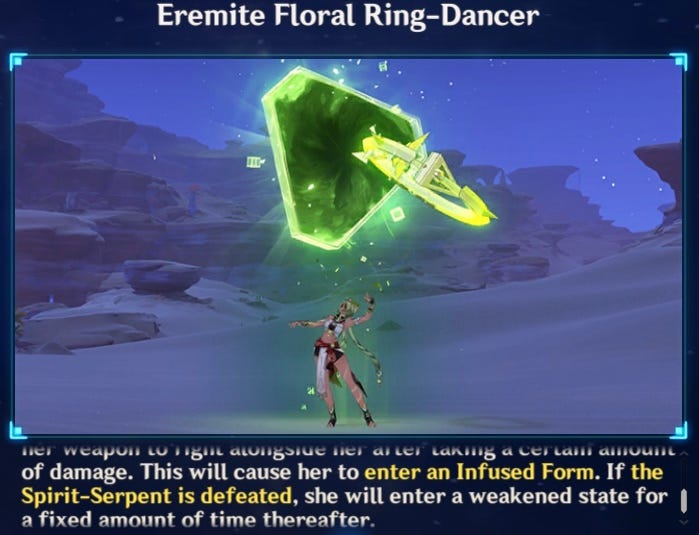
After the cutscene, continue forward, but watch out for the Eremite Floral Ring-Dancer enemy who uses a serpent when low on health. Make sure you kill the serpent when it spawns to send the dancer into a weakened state, making them easier to kill.
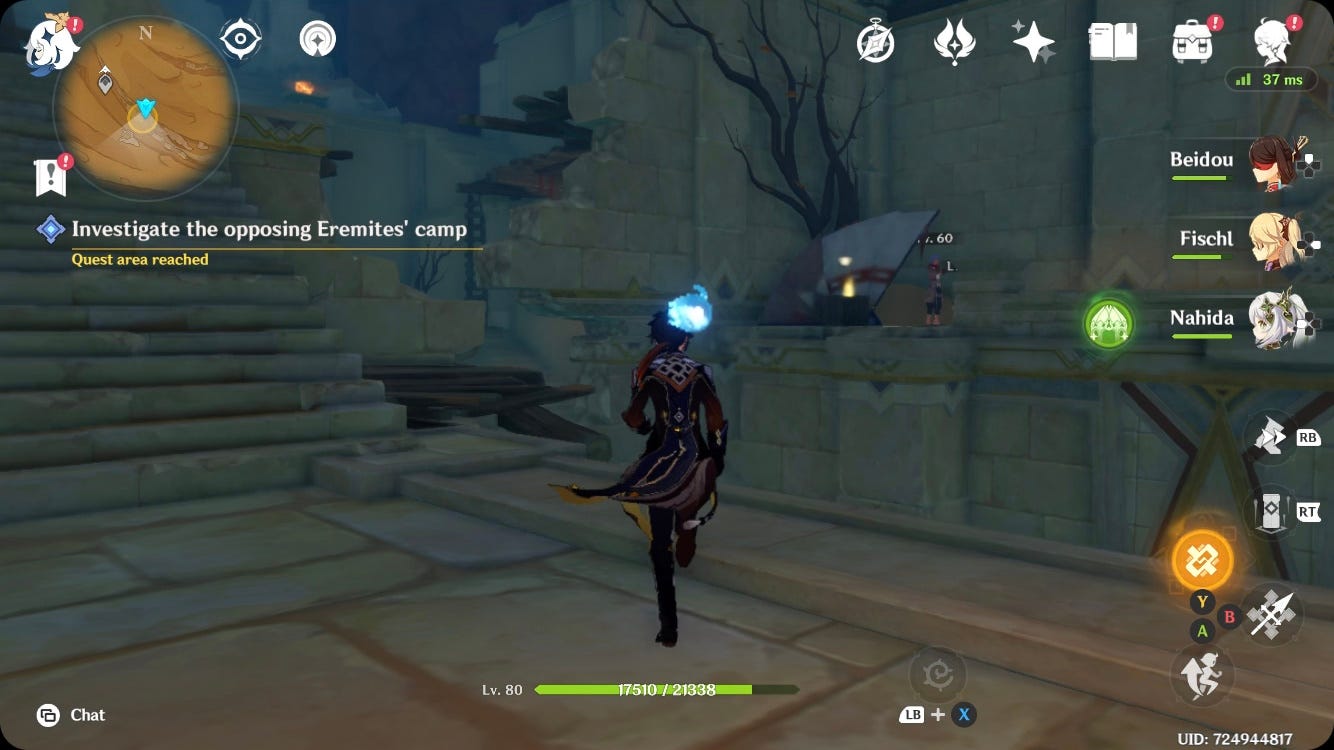
Genshin Impact Investigate the Eremites' camp locations for Temple Where Sand Flows Like Tears quest
To investigate the opposing Eremites' camp you first need to climb up and find the goods invoice in the corner of the right-hand side of the camp.
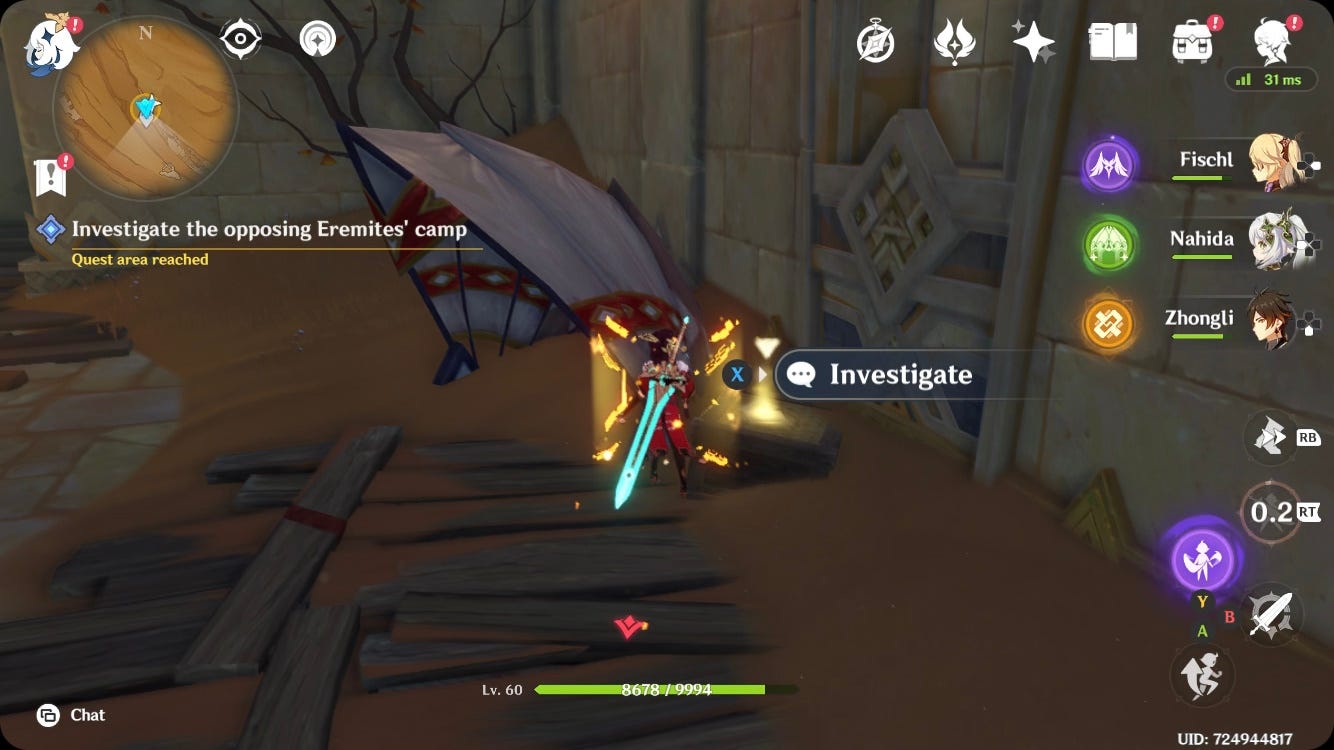
Continue onward by gliding to the left-hand side of the camp and climbing the stairs. This will take you to the top of the camp where you need to investigate the hand-written orders on the right.
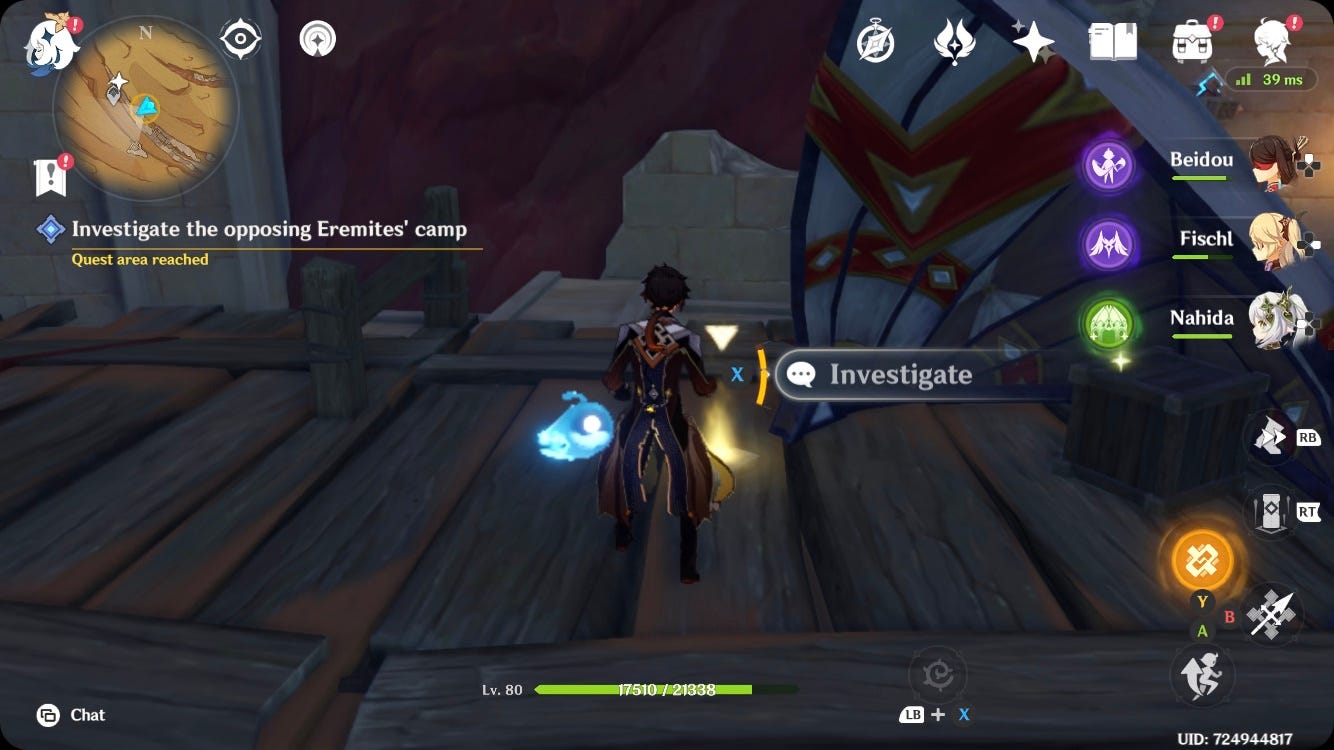
Return to investigating the Eremites' camp by following the quest marker along the wooden structures, where you'll come across some Eremites by the 'neat note' you need to read. Kill them, then investigate the note on top of the small crate.

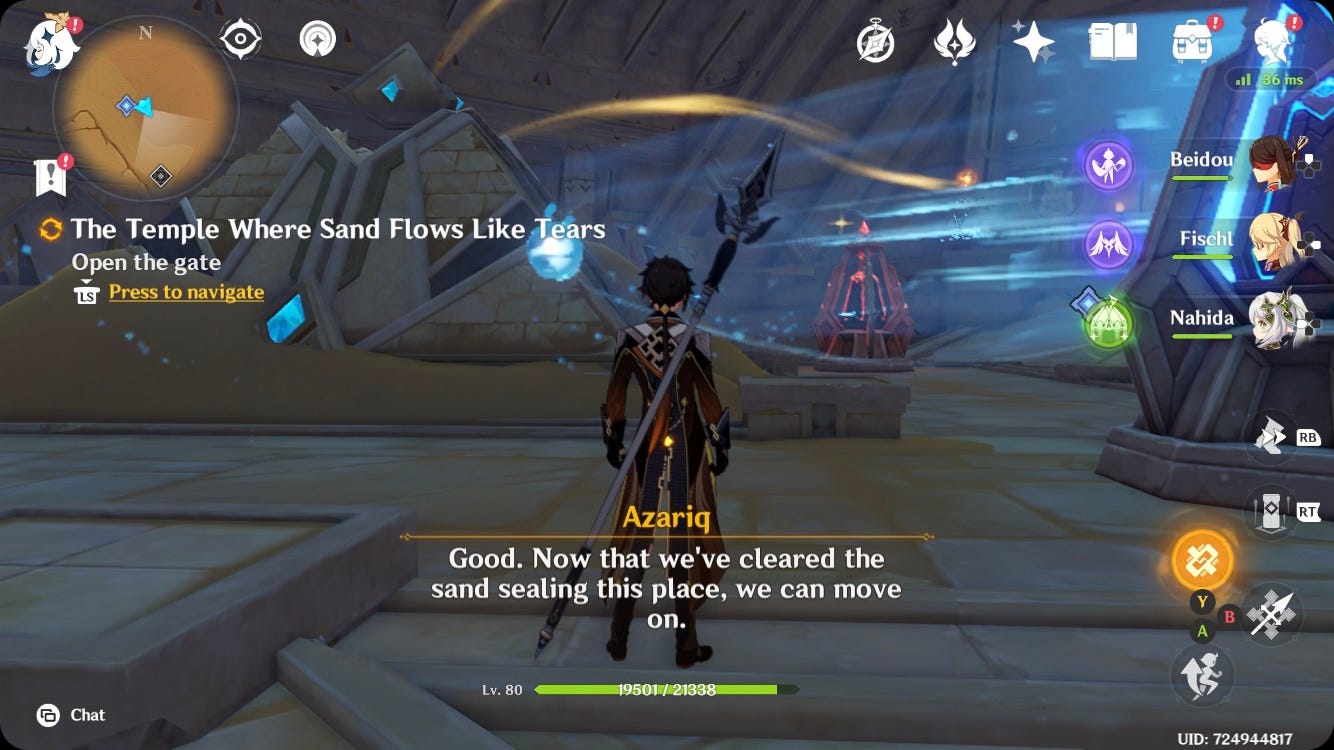
All you have to do to complete the Temple Where Sand Flows Like Tears part of Dirge of Bilqis now is to leave the canyon and return to Babel in Tanit Camps, then speak with Jeht and Azariq.

For more help in Sumeru, we have pages on Dendroculus locations, Sumeru Repuation, Tree of Dreams, and Genius Invokation TCG cards, and Sand Grease Pupa locations.